Monday 20 January 2020

'Hello'
Summer pops of colour
with Lisa Amiet


Hello all!
It's Lisa here today to share some summer feels with you.
I have a layout that I have created with this month's challenge in mind.


I have gone with some pops of colour to match the balloons in my photo.
First, I used '7 Dots Studio Writer's Block 12 x 12 Burden' paper as my base,
I have used my 'Clear Gesso', to seal my page. 


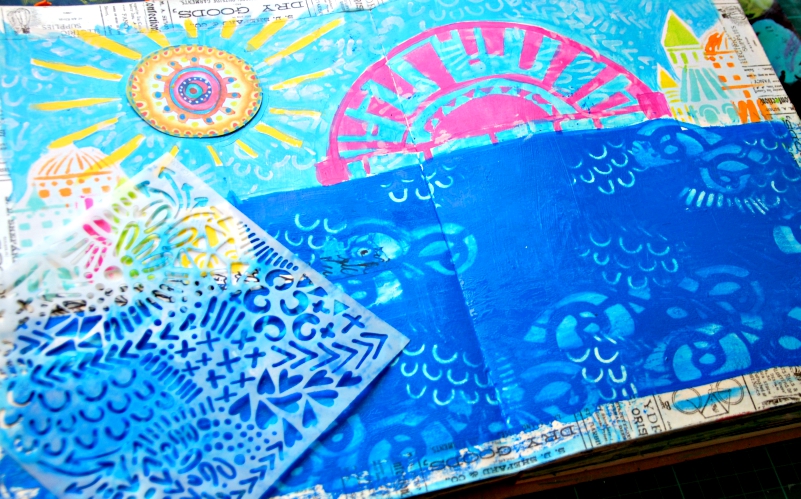
Next, I have used my Dina Wakley Media Acrylic Paints in 'Lemon', 
'Eggplant', 'Blush' and 'Turquoise',
to splash onto my page. 


I have also used the 'Lemon', 'Blush' and 'Turquoise' paints mixed with water,
 to colour some of the 'Writer's Block 12 x 12 Tags' and 'Writer's Block Elements'.


Layering the tags along with some ephemera from the 
'Idea-ology Expedition Ephemera" pack,
onto my base page. I have also used a piece of the 'Writer's Block 12 x 12 Inkwell'.


I have then added more layers of the tags,
building the colours to add to the black & white of this collection.


I have then adhered my photo, 
and a few more of the coloured die cut elements, into my layers.


I have then added one of the Flower Heart Charms,
and layered a '7 Dots Studio Airmail Word Sticker'
using foam tape for dimension.


To finish, I have used one of the flairs from the 'Glass Flair Hello Set',
along with another of the 'Airmail Word Stickers'


I hope that you like my layout with its bright summery pops of colour.
I love that I can bring any colour I want to,
 into this collection of black & white.


Until next time!!

Lisa


Scrap Matrix Products used;

Dina Wakley Media 'Clear Gesso'
Dina Wakley Media Acrylic Paints
7 Dots Studio Writer's Block
7 Dots Studio Airmail
Glass Flair 'Hello Set' 
Tim Holtz Idea-ology 'Expedition Ephemera'


Sunday 19 January 2020

Summer layout -.... by Lynn Good


Morning everyone, today I am back with the second layout that I have created for this months moodboard challenge. 


Here is my layout- I have gone with the greens and pinks for this page together with an array of summer photos of our pup "Rosie"


I began by cutting up the 6 x 6 La-La Lands Paper - Endless Summer and adhering to a 12x12 cardstock with matte medium. I then added a layer of gesso to push the paper to the background,


I have then used Paper Artsy Grunge Paste, Paper Artsy Infusion Green Man and Paper Artsy Stencil PS097 at the top and bottom of the page.


Once this was dry I have highlighted the paper strips with gelatos and words from Mambi sticks Stickers.   

Final touches with liquid pearls around the layout,

Here are some close ups:


I hope that this has inspired you to find some time to create and enter into this months challenge.  It is super easy - create a project and upload a picture to our Scrap Matrix Shares page, easy peasy.  Dont forget to let us know what products you have used that is available from the Scrap Matrix Shop.

Until next time = Happy Crafting


Saturday 18 January 2020

Summer Blooms


Hi!
  Today I've got three cards for you using the Colours of Summer theme.


Summer seems to be filled with birthdays to me.  
A lot of my favourite people seem to be born during these months. 
I'm constantly making cards, (and attending celebrations), so I thought I make some using the bright colours from Ranger's Distress Inks and Paperartsy's JOFY large blooms.

So this is what I used:

Card Blanks
White Cardstock
Paperartsy Stamps - JOFY 71, JOFY 72, JOFY 73 
Distress Inks (DI) - Twisted Citron, Mowed Lawn, Salty Ocean, Ripe Persimmon, Mustard Seed, Squeezed Lemonade
Archival Ink - Jet Black, Library Green
Coloured Pencils

Firstly I blended my DI inks onto the cardstock then stamped my chosen designs with Jet Black. (Of course I forgot to take photos of this step.)  I added details with my pencils and the Posca pen and black pen.


I next chose my two favourite DI greens and blended these onto another piece of cardstock. Grabbing the stencil, I blended Salty Ocean over it .  I stamped one design in Library Green randomly over the cardstock.  I stamped the second design with embossing ink and covered it with embossing powder. Heated it with a heat gun to set it.


I trimmed the paper into several sizes and attached them to the card blanks.   I used a black pen to trace around the pieces to add some definition.  I cut out my petals and centres and glued them to the cards, (using 3D foam for the centres).


So that's it.  Three simple cards for Summer.  I hope you all get to spend some time in your craft rooms.  It's a great way to relax. 
I'm off to another celebration.  I hope they like the card I made. 😄


Friday 17 January 2020

Sweet Summer by Tanya Froud

Hi all!
Tanya here
 I have a couple of projects that I have just finished.

First my sweet summer Pineapple page.

Firstly I started of with a page colored with Distress Ink  and blended with a makeup sponge.
Using a Tracey Scott Stencil dabbed more Distress Ink  through.
I then drew a pineapple shape and painted it with Paper Artsy Fresco Paint, more stenciling and added some doodling , To finish I added a slick pair of shades to my pineapple.


Next I have done a Scrapbook page,


i used a Aall and Create Stencil and sponged Distress Ink through on a white sheet of 12x12 card-stock. Next i repeated this on a separate sheet of card-stock and then fussy cut bit out to build up and add dimension to my 12x12 page before mounting a circle photo in the center of the flower.

Well that's it from me....
Until next time!


Tuesday 14 January 2020

Colours of Summer: Summer Days


Summer days can often be lazy days, enjoying reading, relaxing and of course, craft! With this project I tried to depict those lazy summer days. 


I have used a combination of Paper Artsy paints ..... Lake Wanaka, Aqua Duck Egg, Seagrass, Slimed, Granny Smith, Butternut, Blah Mange and Zesty Zing. Starting with my background of sky and grass, I then added another coloured dots to form flowers in a field.


I have hand drawn my girl on a swing and made her dress from a piece of Art By Marlene Collage paper. With colour on colour, I have stamped flowers on the top of the coloured dots using a flower from Dina Wakely Abstract Blooms.


To finish my project, I added some ribbon from my stash and some bold summer flowers from Paper Artsy JOFY 80 set.


Not being the greatest artist, I had fun with this project and found drawing a girl without a face, much easier than I first thought. 
I hope you find the time to also try something a little different for this months challenge.
Have fun creating


Sunday 12 January 2020

Summer Fun with Tammy

Hello there!!

Well I'm feeling all summery as I am currently spending some time with the family at the beach.
Yay!!


Such a Summer Scene....

For this one, it was just after Christmas and the Sydney to Hobart Yacht race was on and I got thinking about summer and it's colours.
That made me think of Ken Done - who I adored as a teenager, I mean his colour choices are fantastic, and immediately I had the idea of recreating a Sydney Harbour Scene.


So let's see how it happened....


Firstly, gesso the page all over.

Now time to get out my stencils and bits and pieces from Scrap Matrix and look at them a little differently....


See that stencil '12x12 Sun Valley' by Art by Marlene for The Crafter's Workshop - that sunrise/sunset shape will make a perfect Sydney Harbor Bridge!

I taped off the bottom with some washi tape and then applied some paint through the stencil.


I used Bubblegum Pink by Dina Wakley paint as it just reminds me of those summer colours that Ken Done would use.


See... Instant Bridge!!

I grabbed out my Art by Marlene Die-Cuts #3and again looked at them a little differently.
This one was instant Ken Done sun.....just add some Lemon Dina Wakley Paint.


Next step, I grabbed a stencil '6x6" Floating City' by Art by Marlene for The Crafter's Workshop, and added some paint through it to create some city buildings around the edges of the harbor.


Now time to add in sky!!


Also time to add the blue sea water.
For this, I needed a deeper strong blue.


At this point, the sky and sea seemed a little flat, so I grabbed a couple of stencils - 
I rubbed through the paint with a wet baby wipe to take off some of the colour.
Much better, it helped bring the sky and ocean to life.


Ok, so whilst I'm looking at things a little differently, I grabbed some more Die-Cuts.
Some see leaves, I see the shape of the iconic Sydney Opera House.


Ok, so now I just need some boats in the Harbor, again leaves will be perfect, and these cute little bunting is just the piece.


I then added detail with my black and white gel pen....


The final step was to add a fun painty border....


Ta da!! Time to look at your supplies in a different way....
What do you SEE??

I've got another share again today...


This one came to be as I found in my stash some napkins that were just screaming Summer.....


I began with white gesso, and then some big swipes of  'Sky' by Dina Wakley and 'Banana' by Paper Artsy. 
I love how they merged together and made lime. Yep I didn't wait for them to dry, I just went for it.


I then used '6x6 Floral Statement' Stencil by The Crafter's Workshop, and again rubbed off some of that paint through the stencil.


Ok, time to add that napkin.
I used different pieces of it and adhered it with Matte Gel.
Just don't forget to peel off that back layer of napkin first!


Now I need to blend it into the background, at the moment it looks like it's sitting on top.
To do this I grabbed one of my favourite flower stamps by Aall & Create and black ink and stamped it around the edge.


I added a bit of doodling and a perfect little saying from the Art by Marlene Stickers.


There you have it!!

Time for me to go and chase the sun and the waves.
If you'd like to see more you can head to my BLOG.

I hope I've inspired you today to try something different, to look at your supplies in a different way.

Luv Tam
xxx