Showing posts with label Paperartsy Stamps. Show all posts

Monday, 18 January 2021

Creating with ColorSparx.

Hi everyone!

I have some cards to share with you one last time.

No photo description available.

 I wanted to show your some different ways to use the ColorSparx watercolour powders.  


So here goes…

You will need: 

·         ColorSparx watercolour powders

·         Watercolour paper

·         Ordinary card

·         TCW Stencils

·         Water mister

·         Iron aid spray

·         Cling film

>^.^<

I cut my watercolour paper roughly into 10.5cm x14.5cm pieces, (some are bigger, some smaller).

My first project is using the cling film and iron aid spray. (I used two different brands of spray and got two different results.)


First I sprayed the iron aid all over the piece of watercolour card and sprinkled some of the ColorSparx on it.  I cut off a large piece of cling film, scrunched it up a bit, laid it out flat onto the card. I used my fingers to smoosh the film into the spray and create creases.  I left it to dry. (Now I don’t recommend doing this when it rains… it took two days to dry while we were having a rain event/flooding… I was impatient… I used the heat gun... things did not end well… they are now in the bin.)


My next example was without the cling film. I sprayed the card with iron aid and sprinkled the ColorSparx.  Left it to dry.


Third example.  Sprinkle ColorSparx in one corner of the card.  Position iron aid spray nozzle at that corner and spray across the card. Two different brands, two different results.


I tried to do the cling film version without the iron aid spray. Again I was impatient.  I didn’t let it dry, and removed the film too soon, but I liked the colours and used it for stamping.


My last example was simple.  Two pieces of ordinary card, a stencil, water sprayer and the ColorSparx powders.

I did all of these on an old bath mat, to cover my work area and absorb spray.  It takes up less room that a spray box too.

Place card on work space with a stencil.  Sprinkle ColorSparx powders, mist with sprayer.  While still wet, place the other card beside it and flip the stencil over for a mirrored version of the original.  I roll my paper towel over it to absorb any leakage.


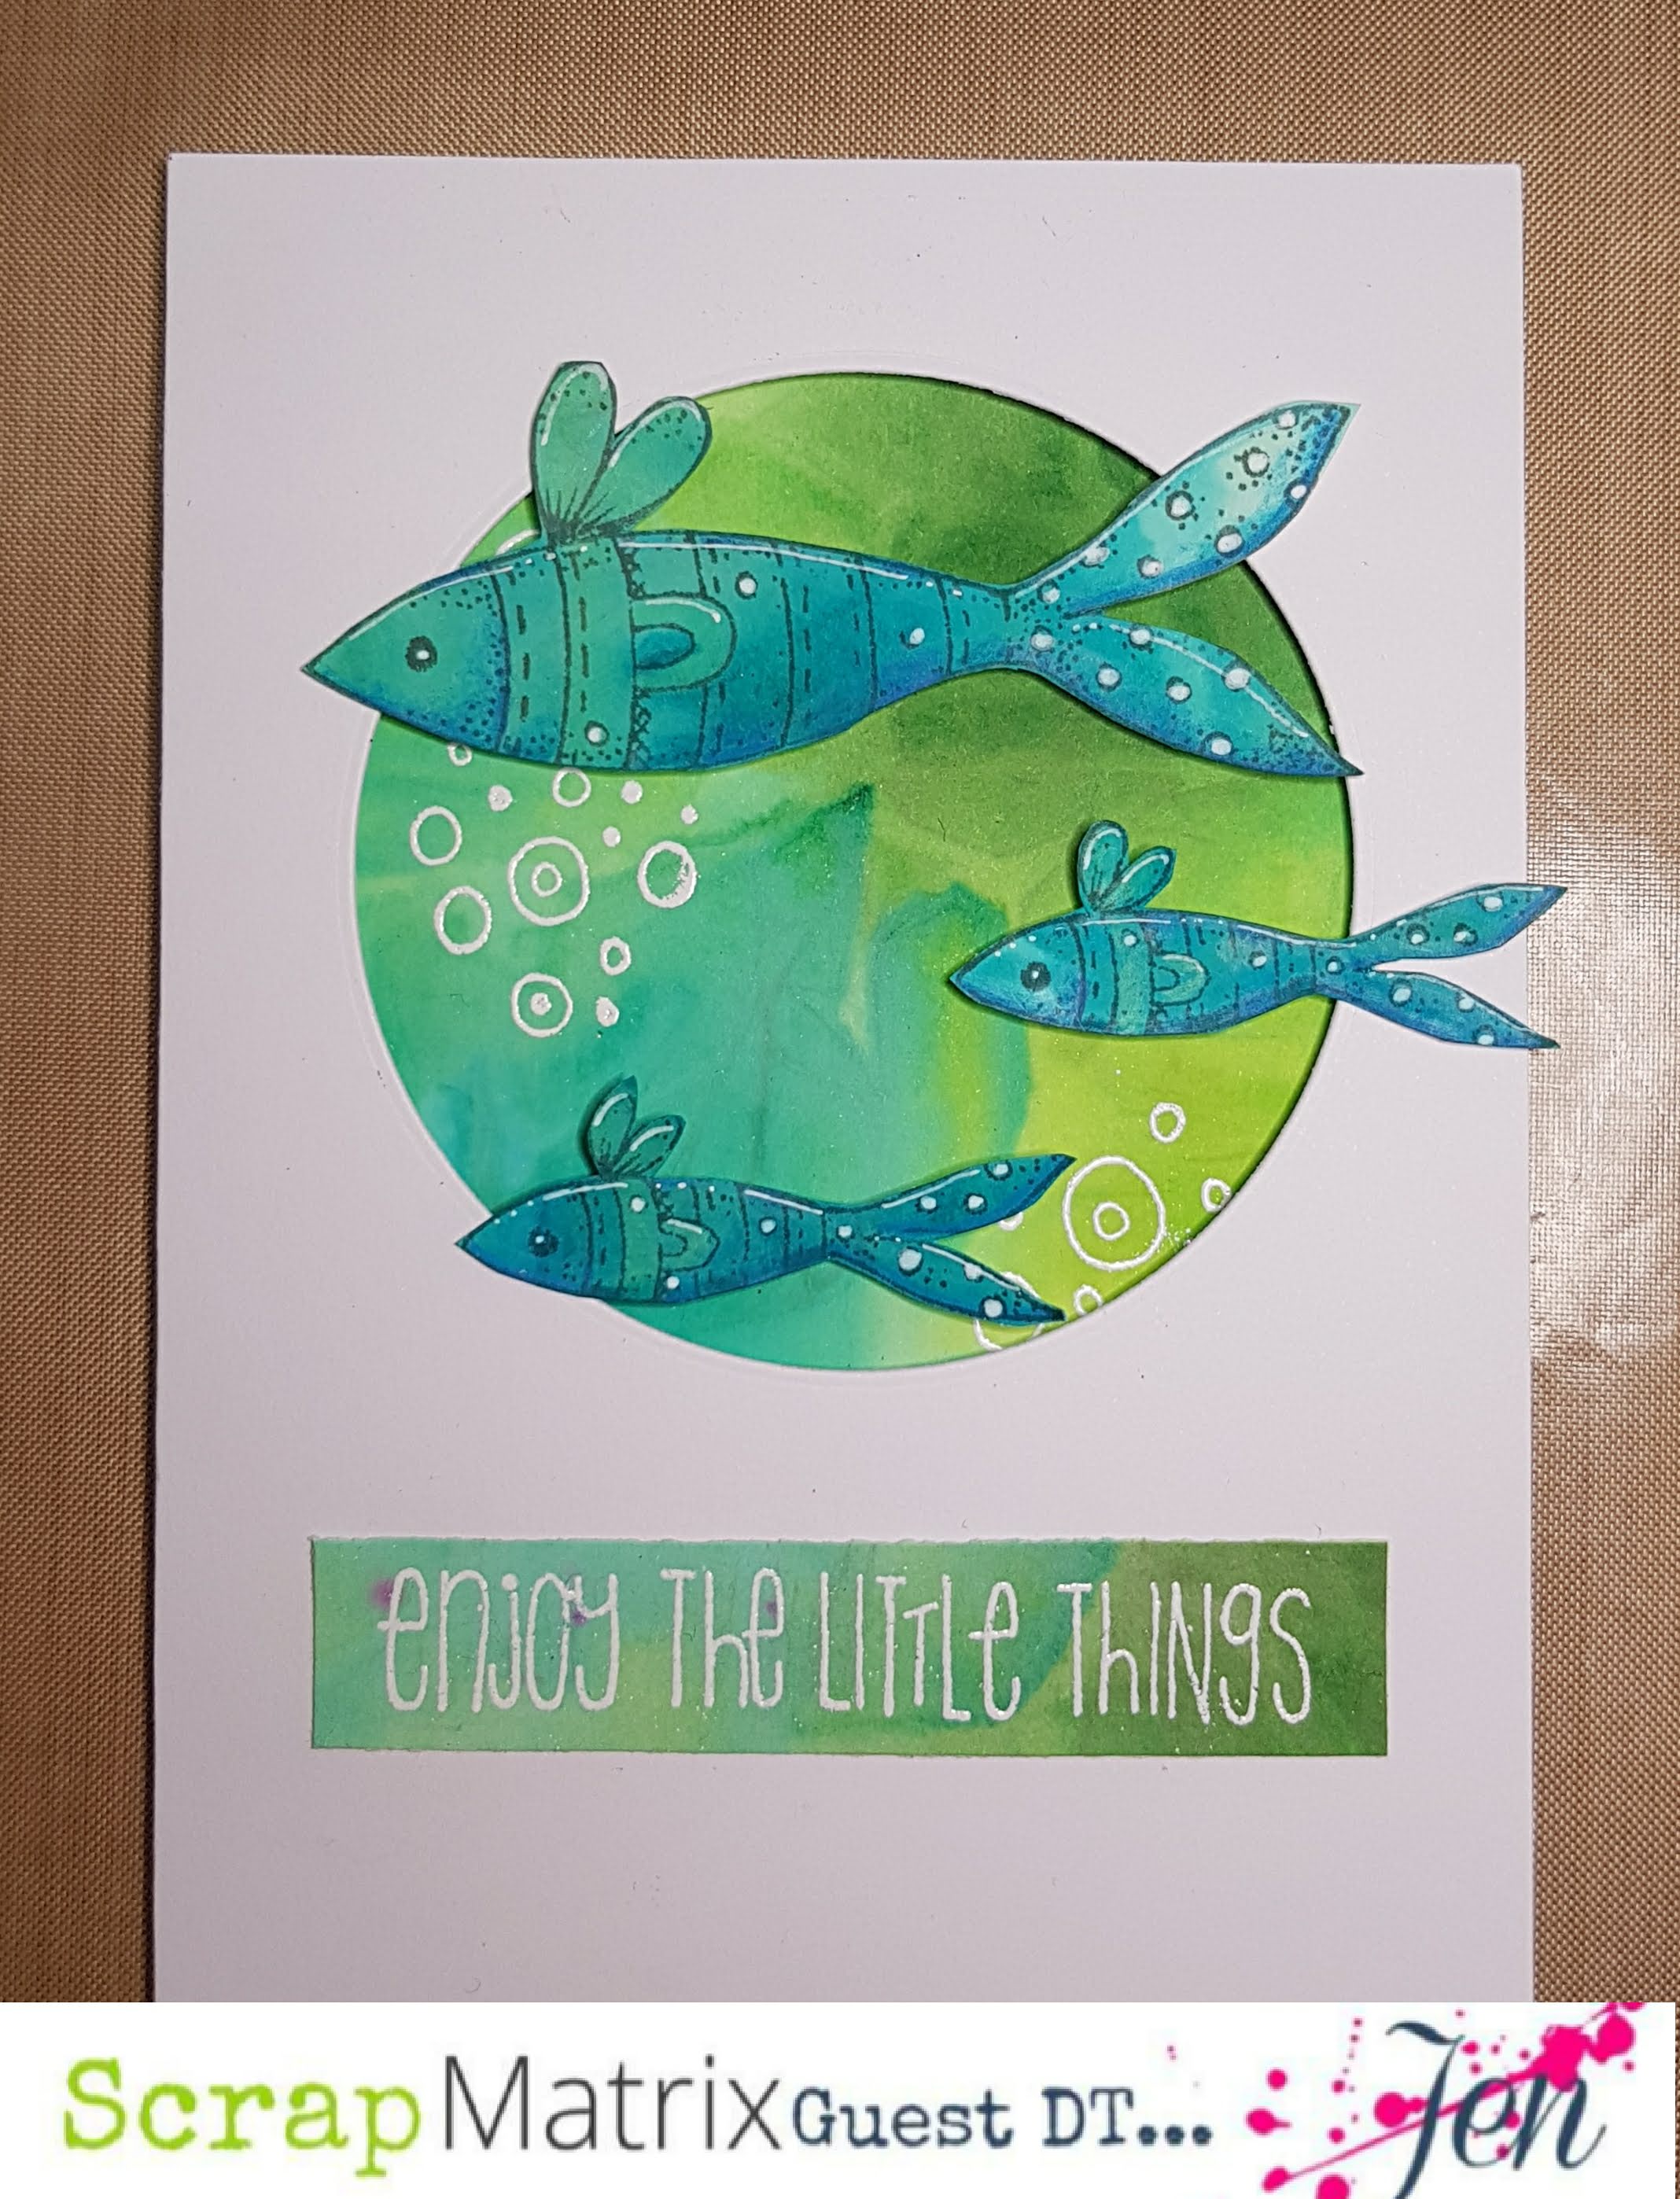
I chose which ones I wanted to use as backgrounds, ones for stamping and ones for future projects (maybe). I stamped and coloured my images and put together a couple of cards.

I have used both PaperArtsy and Carabelle Studios stamps.


>^.^<

That’s it! I hope you enjoyed these projects and all of the other projects I have shared with you during my time as a design team member.

I am going to miss sharing ideas with you all.

Thank you to my other Design Team members.  It has been wonderful to meet you.  .  Your encouragement, support and advice have been valuable.  You have, and will continue to, inspire me.

And a huge THANK YOU to Vicki for asking me to join this team.  This has been a wonderful experience that I will always remember with pleasure.

I wish you all the best of luck in the future.

 Happy crafting.

>^.^<


Thursday, 10 December 2020

I would like to paint the way a bird sings.

Hi Everyone!

It’s my turn to share my project for the Either/Or challenge.

I’ve chosen to do a page, brights, circles and nice. 


Now bright is a bit of a kryptonite for me, but I’m improving.  So here goes…

First I stuck down some torn serviette into my Dylusions journal. I’ve had these for a while, (I think I got then from Kmart).


Then I sponged DinaWakley paints over the page. I’ve used Lime, Lemon, Ruby, Magenta, Peacock, Tangerine, Evergreen, Blackberry, Lapis and White.


My next step was to sponge more paint through various stencils, (7 Dots Studio and TCW).


Then I drew some circles and blocked out the rest of the page with Apricot. (I regret this; I should have used a different colour. Oh well.)


I did a second coat.  (I still didn't like it.)


I wanted to create a shadow around the circles so I used my Hickory Smoke Distress crayon and blended it with my finger. 


I then outlined the circles with a black pen. Adding scribbles and trying my hardest to be messy.  (This is hard for me.) It took a couple more circles before the perfectionist side of my personality would let it go.  (I’m a Gemini; one half chaotic, the other controlling.)


I stamped my leaves around the edges of some of the circles and the two birds in the larger circles in Jet Black Archival Ink. (Paperartsy Stamp Set ESN34).  Some didn’t stamp well and I coloured them in with a black pen.


I added the quote in pen and that’s it. I hope you like it.  I’ll be back later in the month with more to share. I’ll see you then.  Now it’s time to work on my Christmas gifts. 


Bye for now.


Jen.


Thursday, 10 September 2020

Jen's Creatures.

 Hi Everyone!

I'm sharing a couple of journal pages for you to enjoy today. A couple of creatures.

(Thanks to all the artists who have shared their work and inspire us.)
 
  I'm sure you thought that I would create a cat... well, one of them is feline but we'll get to him later. 
 A few of you will know that my surname is Giarraffa, and it's often pronounced jer-raa-fa, (it should be gia-raff-a).  Needless to say that the tall long-necked creature is often associated with the name. As it happens, Triple M radio currently has featured a giraffe in their TV ads.  He's rocking out to a Foreigner song and I immediately think of my youngest brother-in-law whenever I see it.  Inspired by this I created 'Gio' my singing giraffe.
 
He's a little wonky in places, (aren't we all), but I'm very happy with him.  Let me show you how I created him.
 

I started by gessoing a page in my large Dylusions Journal.
First I glued bits of book paper, collage paper and washi tape to the page.  I wasn't sure at this stage where I was going with this.  I printed an image from Pinterest and copied a rough outline of my subject.


I created the background using Paperartsy Fresco Acrylic Paints in Vanilla, Butter and Haystack by sponging them randomly over the page.  Next I grabbed Paperartsy PA Stencil 155 and sponged Cerise over my page, then using Mulled Wine and a whire Posca pen I added some accents.  
 

For my giraffe I used Spring, Beanstalk and Gumboots. The eyes were done with a mixture of Pitt and Posca pens.  I don't own any brown paint.  I'll have to fix that soon.  
 

Next to make the markings on his hide, I sponged two blues onto some spare card.  (I forgot to take a photo of these for my records so I can't really say which ones I used.)
 

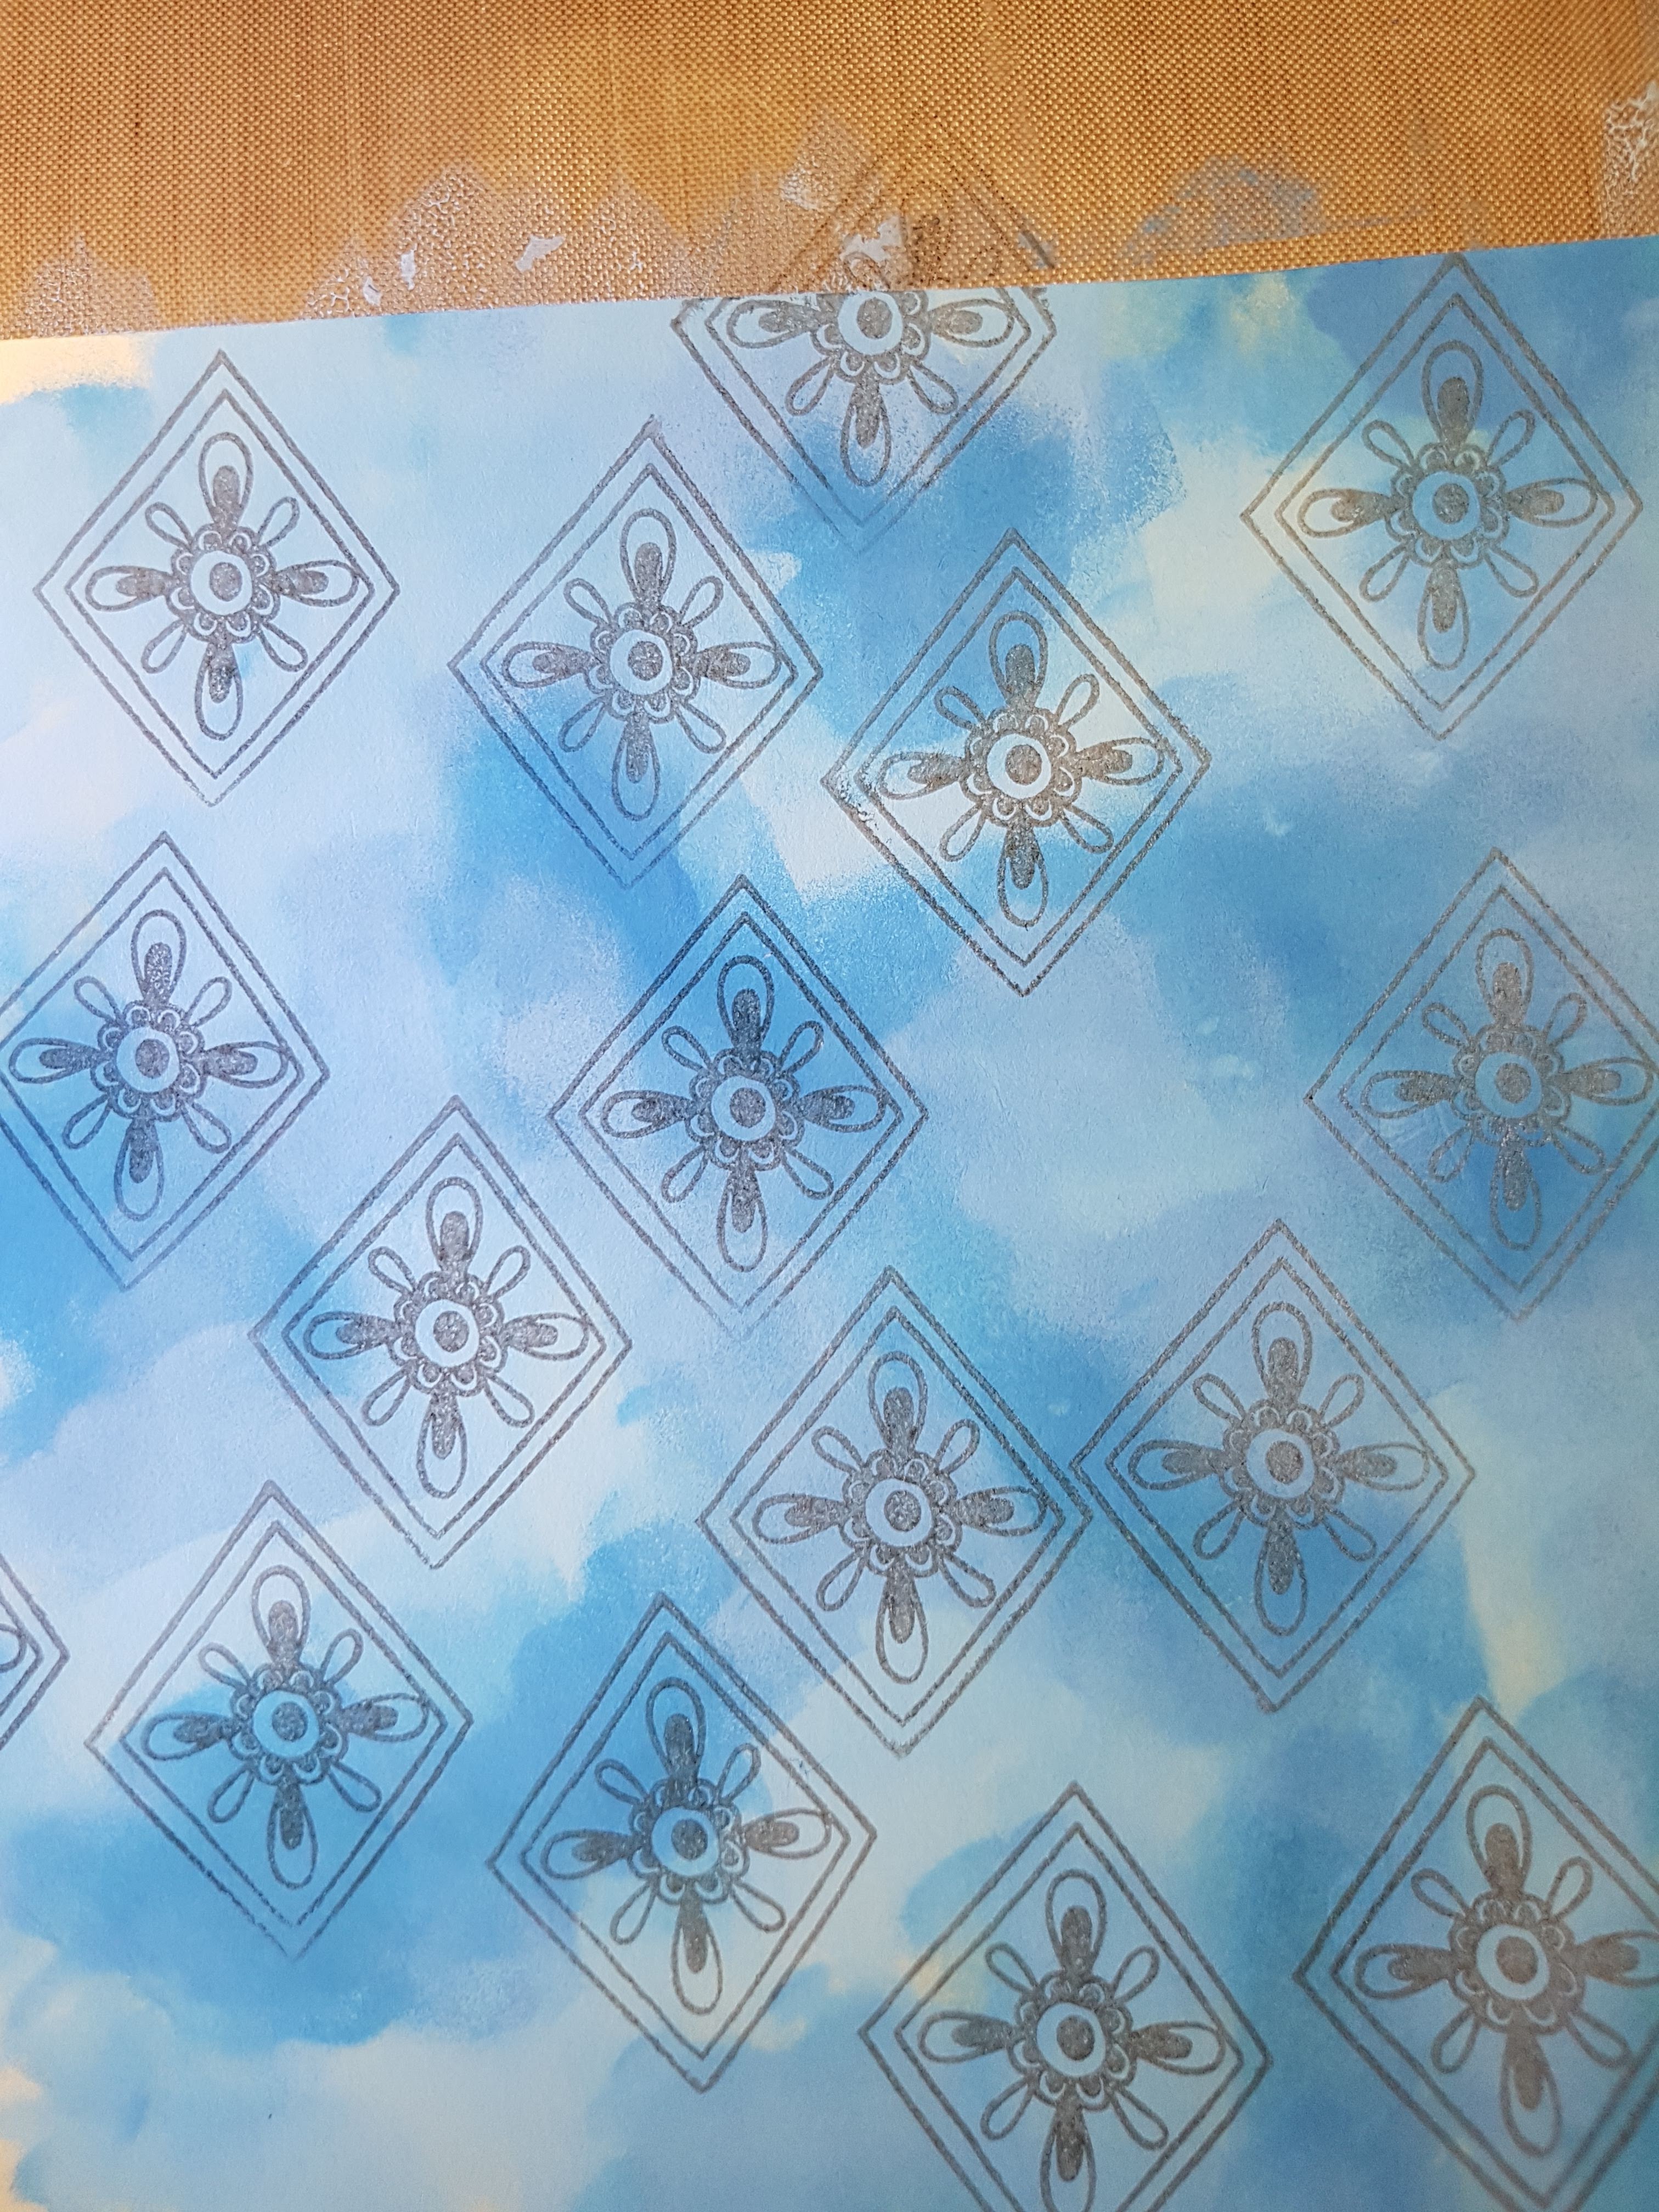
I stamped the diamond from Papreartsy ETS44 stamp set and added some detail with my pencils and glued them onto my giraffe. 


My next step was to add some more leaves, because giraffes need something to eat.  I sponged Cerise over some more card and stamped Papersartsy Stamp Set JOFY71 and added highlights with Mulled Wine and white Posca pen. I then placed them on my page. I added the musical notes with a black Posca pen.

And he's done!
 

While I was planning this page and waiting for the paint to dry another animal appeared on the opposite page. I actually got distracted by him because I was having so much fun. 
 

He's my Sun Lion... mainly because of the bright, sunny colours of his mane.
The background was done by sponging Paperarsty paint over the page and adding some stencilled designs to it.
I'm pretty sure his face is done with Zesty Zing and Tangerine Twist paint and details again with Posca and Pitt pens. Then starting with the darkest colour (Cherry Red?) I painted some lines.  I think I used Coral next once the darkest was dry and then Tango, Tangerine Twist and Zesty Zing until I was happy. I think I was smiling the entire time. It may have been drizzling outside and he just perked me right up. 

Well that's it.  My two character creatures.  I've no idea what I'll do next. I guess we'll just have to wait and see... 

Jen 
>^.^<


Monday, 10 August 2020

Using Sprays with Jen

Hi Everyone!

I’m here to show you my take on this month’s challenge. 

     (Thanks to all of the artists on Pinterest for sharing their work and inspiring us.)

I thought I would show you the difference between some of my favourite brands of sprays.  I’m using Dylusions Ink sprays, Ranger’s Distress Oxide sprays, Lindy’s (Stamp) Gang sprays and my new favourite, Dina Wakely’s Gloss sprays.


I started by cutting some watercolour paper into 10cm x10cm squares.  I’ve used the smooth side of the paper and sprayed two colours from each brand onto them.


I’ve used Dylusions’ Vibrant Turquoise and Rose Quartz.

Distress Oxide’s Mowed Lawn and Wilted Violet. I flicked the Wilted Violet over it.


Lindy’s Bachelor Button Blue and Autumn Maple Crimson (I love the names of their colours). I took a couple of photos to try and capture the shimmer. I'm not sure I succeeded.

And Dina’s Gloss sprays in Olive and Night. I flicked some White over it as well. (Isn't it delicious.)

I then cut out circles using a die and stuck them onto white card. I stamped some images from my Paperartsy stash and coloured a couple using Dylusions’ Rose Quartz, Cut Grass, Fresh Lime and Lemon Zest.


I cut them out and attached them to the cards along with some Tim Hotlz stickers and gold metallic thread. 


Dylusions Sprays.


Ranger's Distress Oxide Sprays.


Lind's Stamp Gang Sprays.


Dina Wakley Gloss Sprays.

They looked a little plain so I asked the rest of the Design Team for some suggestions and decided to add some lines on opposing corners. 

I really enjoyed playing with the Gloss sprays so I did another one using all the colours I had, (Olive, Night, White and Eggplant), but this time I used the rougher side of the watercolour paper.


I hope this has inspired you in some way.  Don’t forget to show us your creations on the Facebook page.  Add them to the Album and you’ll be in the draw for a chance at a prize.

I’ll be back later in the month to show you another of my creations.   Stay safe and be happy.

Jen.

>^.^<