Showing posts with label Cardmaking. Show all posts

Monday, 18 January 2021

Creating with ColorSparx.

Hi everyone!

I have some cards to share with you one last time.

No photo description available.

 I wanted to show your some different ways to use the ColorSparx watercolour powders.  


So here goes…

You will need: 

·         ColorSparx watercolour powders

·         Watercolour paper

·         Ordinary card

·         TCW Stencils

·         Water mister

·         Iron aid spray

·         Cling film

>^.^<

I cut my watercolour paper roughly into 10.5cm x14.5cm pieces, (some are bigger, some smaller).

My first project is using the cling film and iron aid spray. (I used two different brands of spray and got two different results.)


First I sprayed the iron aid all over the piece of watercolour card and sprinkled some of the ColorSparx on it.  I cut off a large piece of cling film, scrunched it up a bit, laid it out flat onto the card. I used my fingers to smoosh the film into the spray and create creases.  I left it to dry. (Now I don’t recommend doing this when it rains… it took two days to dry while we were having a rain event/flooding… I was impatient… I used the heat gun... things did not end well… they are now in the bin.)


My next example was without the cling film. I sprayed the card with iron aid and sprinkled the ColorSparx.  Left it to dry.


Third example.  Sprinkle ColorSparx in one corner of the card.  Position iron aid spray nozzle at that corner and spray across the card. Two different brands, two different results.


I tried to do the cling film version without the iron aid spray. Again I was impatient.  I didn’t let it dry, and removed the film too soon, but I liked the colours and used it for stamping.


My last example was simple.  Two pieces of ordinary card, a stencil, water sprayer and the ColorSparx powders.

I did all of these on an old bath mat, to cover my work area and absorb spray.  It takes up less room that a spray box too.

Place card on work space with a stencil.  Sprinkle ColorSparx powders, mist with sprayer.  While still wet, place the other card beside it and flip the stencil over for a mirrored version of the original.  I roll my paper towel over it to absorb any leakage.


I chose which ones I wanted to use as backgrounds, ones for stamping and ones for future projects (maybe). I stamped and coloured my images and put together a couple of cards.

I have used both PaperArtsy and Carabelle Studios stamps.
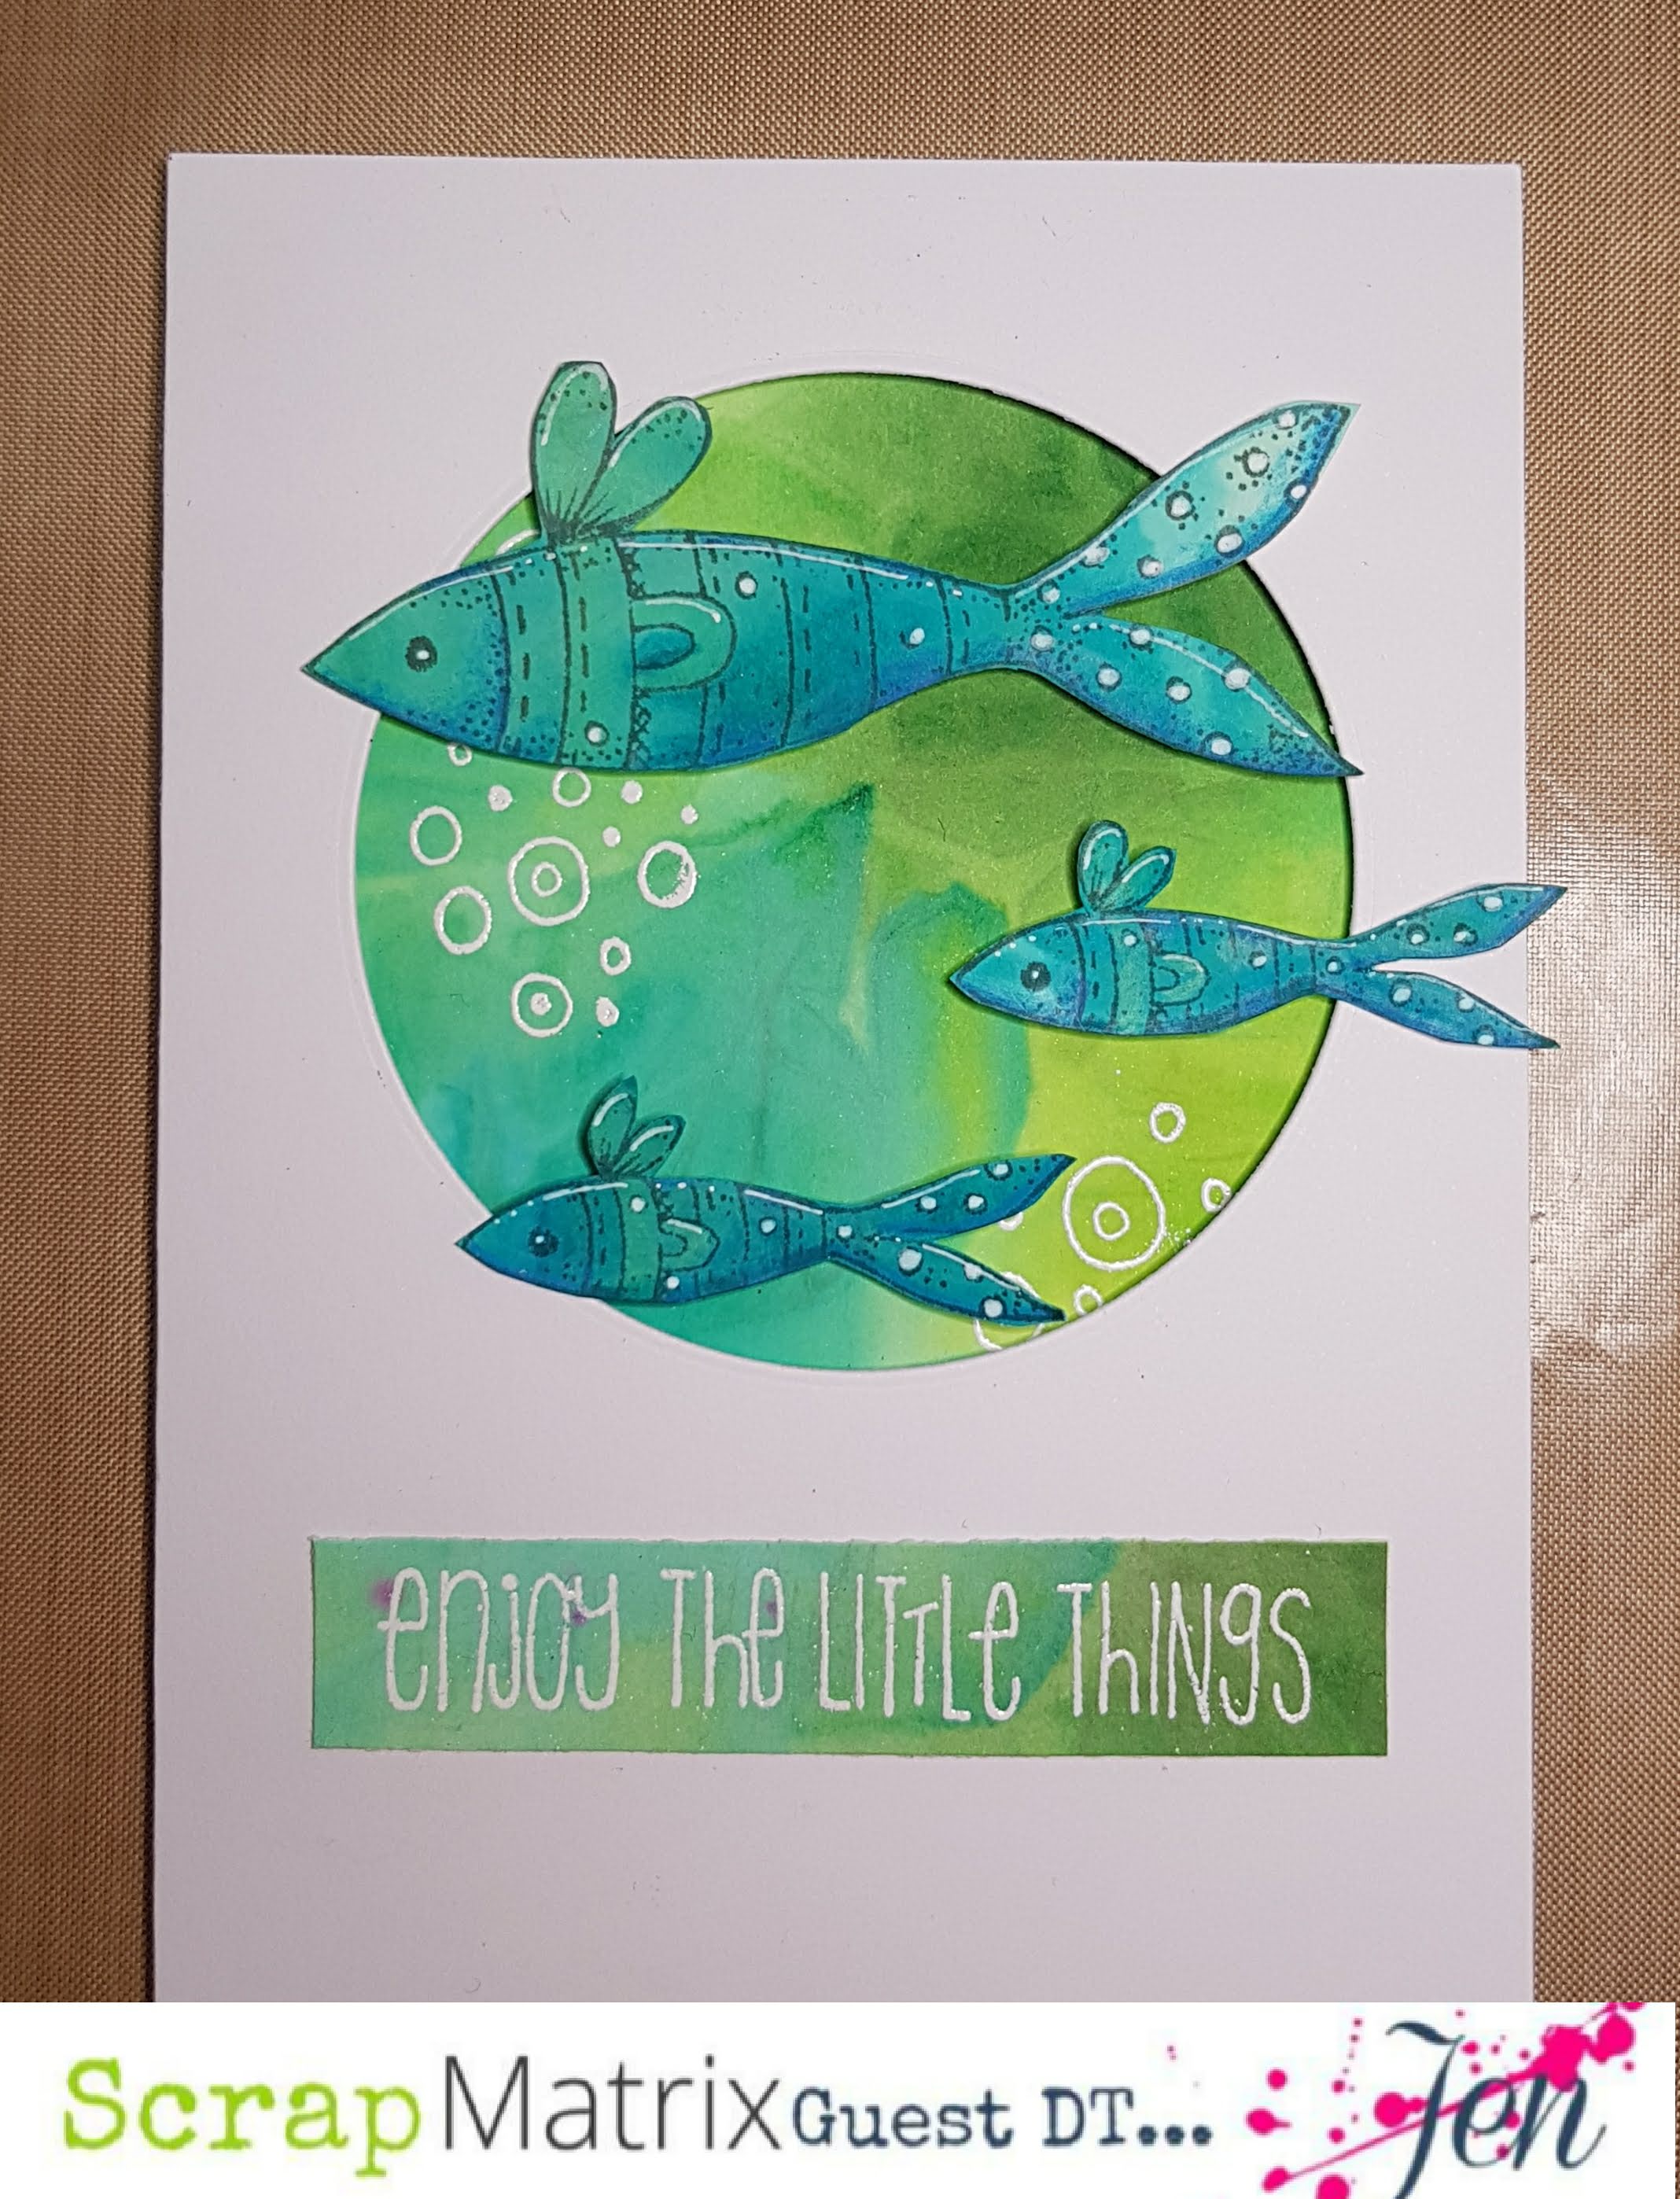


>^.^<

That’s it! I hope you enjoyed these projects and all of the other projects I have shared with you during my time as a design team member.

I am going to miss sharing ideas with you all.

Thank you to my other Design Team members.  It has been wonderful to meet you.  .  Your encouragement, support and advice have been valuable.  You have, and will continue to, inspire me.

And a huge THANK YOU to Vicki for asking me to join this team.  This has been a wonderful experience that I will always remember with pleasure.

I wish you all the best of luck in the future.

 Happy crafting.

>^.^<


Friday, 9 October 2020

Jen's Rainbow Bright Cards

 Hi everyone!

It's Jen here to share some cards with you today.


I was trying a slightly different technique and these were the results.

 
I used Distress Inks Twisted Citron, Peacock Feathers, Wilted Violet, Picked Raspberry, Carved Pumpkin and Squeezed Lemonade. Using an Ink Blending Tool I applied my colours onto some watercolour paper. I misted them with water hoping they would run and drip. 
They did... and they didn't, well to be honest, I didn't like the results.  So I got out my stencils and using the same colours, blended over them.


I was happy with this result.
I stamped some Carabelle Studio stamps onto my backgrounds with the same inks.  Most didn't show up very well, but they are there. 

Next I grabbed some scrap white card and blended some more colour onto them. I stamped Keep Swimming, Kooky Cats and Angels.

 
I also stamped the Kooky Cats and Angels onto some blank card.  I added some details with my coloured pencils, glitter pens and a white Posca. I stamped the skinny angel and the two cats onto my backgrounds so I didn't have to cut around the tricky little details. Cut out the rest of the stamped images and pieced them together onto the backgrounds.  
 I attached them to a black cardstock and glued them onto a card.


That's it.
These were fun to make and I hope you enjoy them. 

I hope you get a chance to try something new in your craftroom this month. 
Don't forget to post it onto the Scrap Matrix Shares facebbok page. 

Jen.
>^.^<


Monday, 10 August 2020

Using Sprays with Jen

Hi Everyone!

I’m here to show you my take on this month’s challenge. 

     (Thanks to all of the artists on Pinterest for sharing their work and inspiring us.)

I thought I would show you the difference between some of my favourite brands of sprays.  I’m using Dylusions Ink sprays, Ranger’s Distress Oxide sprays, Lindy’s (Stamp) Gang sprays and my new favourite, Dina Wakely’s Gloss sprays.


I started by cutting some watercolour paper into 10cm x10cm squares.  I’ve used the smooth side of the paper and sprayed two colours from each brand onto them.


I’ve used Dylusions’ Vibrant Turquoise and Rose Quartz.

Distress Oxide’s Mowed Lawn and Wilted Violet. I flicked the Wilted Violet over it.


Lindy’s Bachelor Button Blue and Autumn Maple Crimson (I love the names of their colours). I took a couple of photos to try and capture the shimmer. I'm not sure I succeeded.

And Dina’s Gloss sprays in Olive and Night. I flicked some White over it as well. (Isn't it delicious.)

I then cut out circles using a die and stuck them onto white card. I stamped some images from my Paperartsy stash and coloured a couple using Dylusions’ Rose Quartz, Cut Grass, Fresh Lime and Lemon Zest.


I cut them out and attached them to the cards along with some Tim Hotlz stickers and gold metallic thread. 


Dylusions Sprays.


Ranger's Distress Oxide Sprays.


Lind's Stamp Gang Sprays.


Dina Wakley Gloss Sprays.

They looked a little plain so I asked the rest of the Design Team for some suggestions and decided to add some lines on opposing corners. 

I really enjoyed playing with the Gloss sprays so I did another one using all the colours I had, (Olive, Night, White and Eggplant), but this time I used the rougher side of the watercolour paper.


I hope this has inspired you in some way.  Don’t forget to show us your creations on the Facebook page.  Add them to the Album and you’ll be in the draw for a chance at a prize.

I’ll be back later in the month to show you another of my creations.   Stay safe and be happy.

Jen.

>^.^<


Thursday, 18 June 2020

Jen's paper hugs.

Hi Everyone!

It’s my turn again and today I’m sharing a few cards.

 At the moment with social distancing we are finding it a little difficult to catch up with friends and family. So I thought I would make some paper hugs. I get a thrill every time I collect the mail and there’s a card for me.  It’s just a pity it’s only at Christmas and birthdays, or sadly when you lose someone.   I read recently somewhere about some primary schools that are sending cards and letters to aged care homes so that the residents don’t feel so isolated.  I thought this was a great idea, my niece and nephew did not. Oh well, sorry grandparents, I did try.

Back to my cards…

I started by playing with Paperartsy’s Fresco Acrylic paints, my gel plate and a few stencils and stamps.  This is very addictive.  I wait for a gloomy, wet day to do this, so the paint doesn't dry too quickly for me.  (There have been a few too many days like this lately.  That's the price you pay for living in the wettest part of Australia.)


 I picked out my three favourites for the card backgrounds. Then with some gel medium, I glued on some torn printed tissuepaper and book pages.


Next, I rummaged through my stash of Paperartsy stamps and grabbed the crosses from JOFY53, little squares from ETS12, and dots from EKD02. I stamped these randomly with Archival Inks. One card I sponged some Snowflake Paperartsy paint through a 7Dots Studio stencil just to give it a bit more character.  I attached these to card bases.


My next step was my little houses.  I used the CarabelleStudio stamps "Our Street" and stamped them onto my other gel-printed papers with Jet Black Archival Ink.  I cut out the individual houses and roofs/rooves(??) and arranged them to my liking.


I attached them to my cards using glue tape and 3D foam.   The sentiment came from my stash and was just stamped onto white cardstock with Jet Black Archival Ink and attached with glue tape. 


There they are.  All ready to send happy wishes and a warm hug to someone. So why not brighten someone’s day with a paper hug. 

Make sure you share it on the Scrap Matrix Share page on Facebook in the appropriate album.  You will be in the draw for a prize.  Just make sure you mention which Scrap Matrix products you have used.


 I think the sun is trying to peek through the clouds.  Finally.

So bye for now.

JEN.

>^.^<