Hello my creatives!
Tam back again to share my second creation for this month's awesome PaperArtsy Challenge.
I loved the stamp set EGL05 when it was recently released.
I think Vicki is out at the moment, but as we are such big PaperArtsy fans, just give her a hoy and she will order you one in!
I love it!!
So let's see where this one began.
First up create a background....
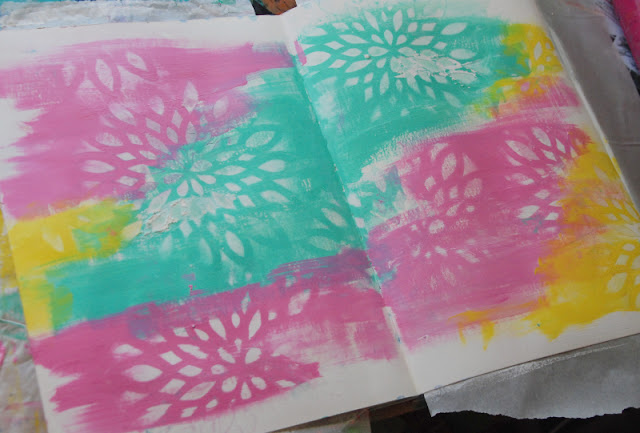
I added white gesso to my large Dylusions art journal and then took three of my fave PaperArtsy Paint colours - Zesty Zing, Bubblegum and Sargasso.
Start by randomly spreading some Sargasso.
Don't think about it too much.
Then whilst your paint is wet, add a stencil and wipe off some paint with a wet baby wipe through the stencil.
I used PaperArtsy Stencil PS158 (by Tracy Scott)
I then repeated this with the Bubblegum Paint, and then finally just a splash of the Zesty Zing.
Time to add....
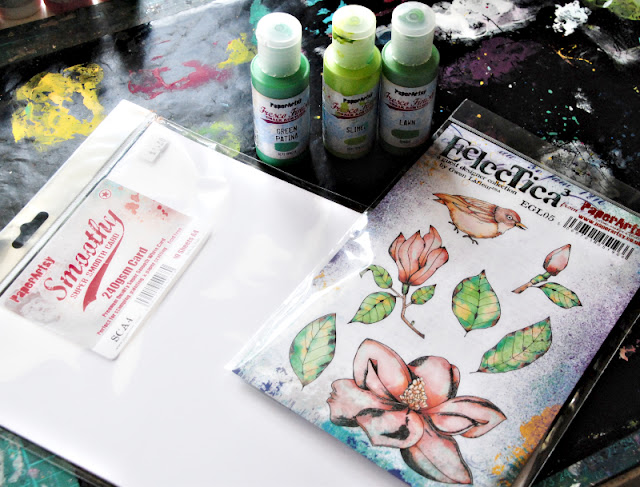
I really adore the leaves in the stamp set, so gathered a few green PaperArtsy paints in Slimed, Green Patina and Lawn.
As I knew I wanted to do some stamping and fussy cutting I grabbed my fave paper - PaperArtsy Smooth Cardstock. It just copes so well with water and mixed media.
So hard to find a good paper like this, so when it was released, I was pretty excited and stocked up.
I added the green paints randomly for my leaves.
Doing this gives a lovely variegated look to the leaves - much more natural.
Now time to create some flowers.
I chose a few different colours in the the purple/blue tones, and some in the red/peach tones.
I then repeated the above process, ready for the stamping.
Looks a mess like this, but once stamped and cut out they look just great....
I just love the little birds in the stamp set and knew I wanted to incorporate these into my art journal page.
Once cut out, I felt the little bird needed a tail.
Yep! That flower bud stamp will work just fine.
You might be able to see my page underneath my hand.
I got distracted at this point and forgot to take photos. Whoops!
I hand painted a branch using PaperArtsy Paints and then added a few leaves stamped in black directly onto the page.
I then added my stamped images around so that the birdies sat on the branches and the flowers and leaves were clustered.
I adhered them with soft matte gel.
As you can see in the above pic I added some detail to the birds and flowers using a white pen and a touch of paint.
I finished off the page by adding in some of the stems, by rubbing through the NEW PaperArtsy stencil PS164 - I just love this stencil, and by rubbing paint through, it gives these little stems that seem to tie everything together.
Again, Vicki has sold out, but if you contact her, she will order you one in.
Or choose a different PaperArtsy Stencil - so many to choose from.
As you can see in the below pic, I've used it over and over already.
Scrap Matrix is always restocking PaperArtsy as they are all our favourites!
Finally, I added a stamp quote from a PaperArtsy Stamp Set ETS31...
As that step was the finishing touch, let's take a look at some of the details.....
I love seeing your PaperArtsy creations appearing over on our Facebook Scrap Matrix Shares Page.
The possibilities are endless and every entry is in the running to win a voucher for the Scrap Matrix Store (so you can buy yourself some more PaperArtsy goodies! lol)
That's it today,
See you next month or in Facebook land.
Luv Tam
xxx


No comments:
Post a Comment