Showing posts with label Tim holtz. Show all posts

Monday, 17 September 2018

Cheers by Sandra Brimelow

Hi everyone, I am back with my second layout for September as a guest designer for Scrap Matrix, for the frames challenge. Here is the graphic for the challenge:
I love how versatile this challenge is, so many different ways to use frames.
Cheers

This layout, had me go in a slightly different direction. I decided to cut a frame using one of my papers from the 13 Arts - Art Journey range - Creativity and Travel papers, which I used as a surrounding frame for the layout. 
Using the Tim Holtz distress oxides - Walnut stain, I added some depth to the papers, and also edged the frame.
To the backround I also spattered some Lindy's Stampgang Starburst spray - bodacious blush. 
A bit of stamping also added to the background using Ranger archival ink - jet black and Aall and Create stamp set #10, and Blue Fern Studio stamp set - texture circles.
To finish the background, I used Aall and Create stencil #10, and texture paste. I also spattered the background using Irresistible spray - wedding dress.
To embellish, I stamped some images using Aall and Create stamp set #11 and #44 and Tim Holtz distress oxides - walnut stain and tattered rose. I also added a little wood veneer frame to my cluster. The Tim Holtz Idealogy small talk stickers were also nifty little additions on the layout. 
To finish the layout, I embellished using Blue Fern Studio flowers - late winter lillies.
Thanks again Vicki and Scrap Matrix team and followers for having me as guest designer this month, I have enjoyed this opportunity. 


Saturday, 24 February 2018

Ranger Challenge - Rebecca's First Share

Hello Everyone,

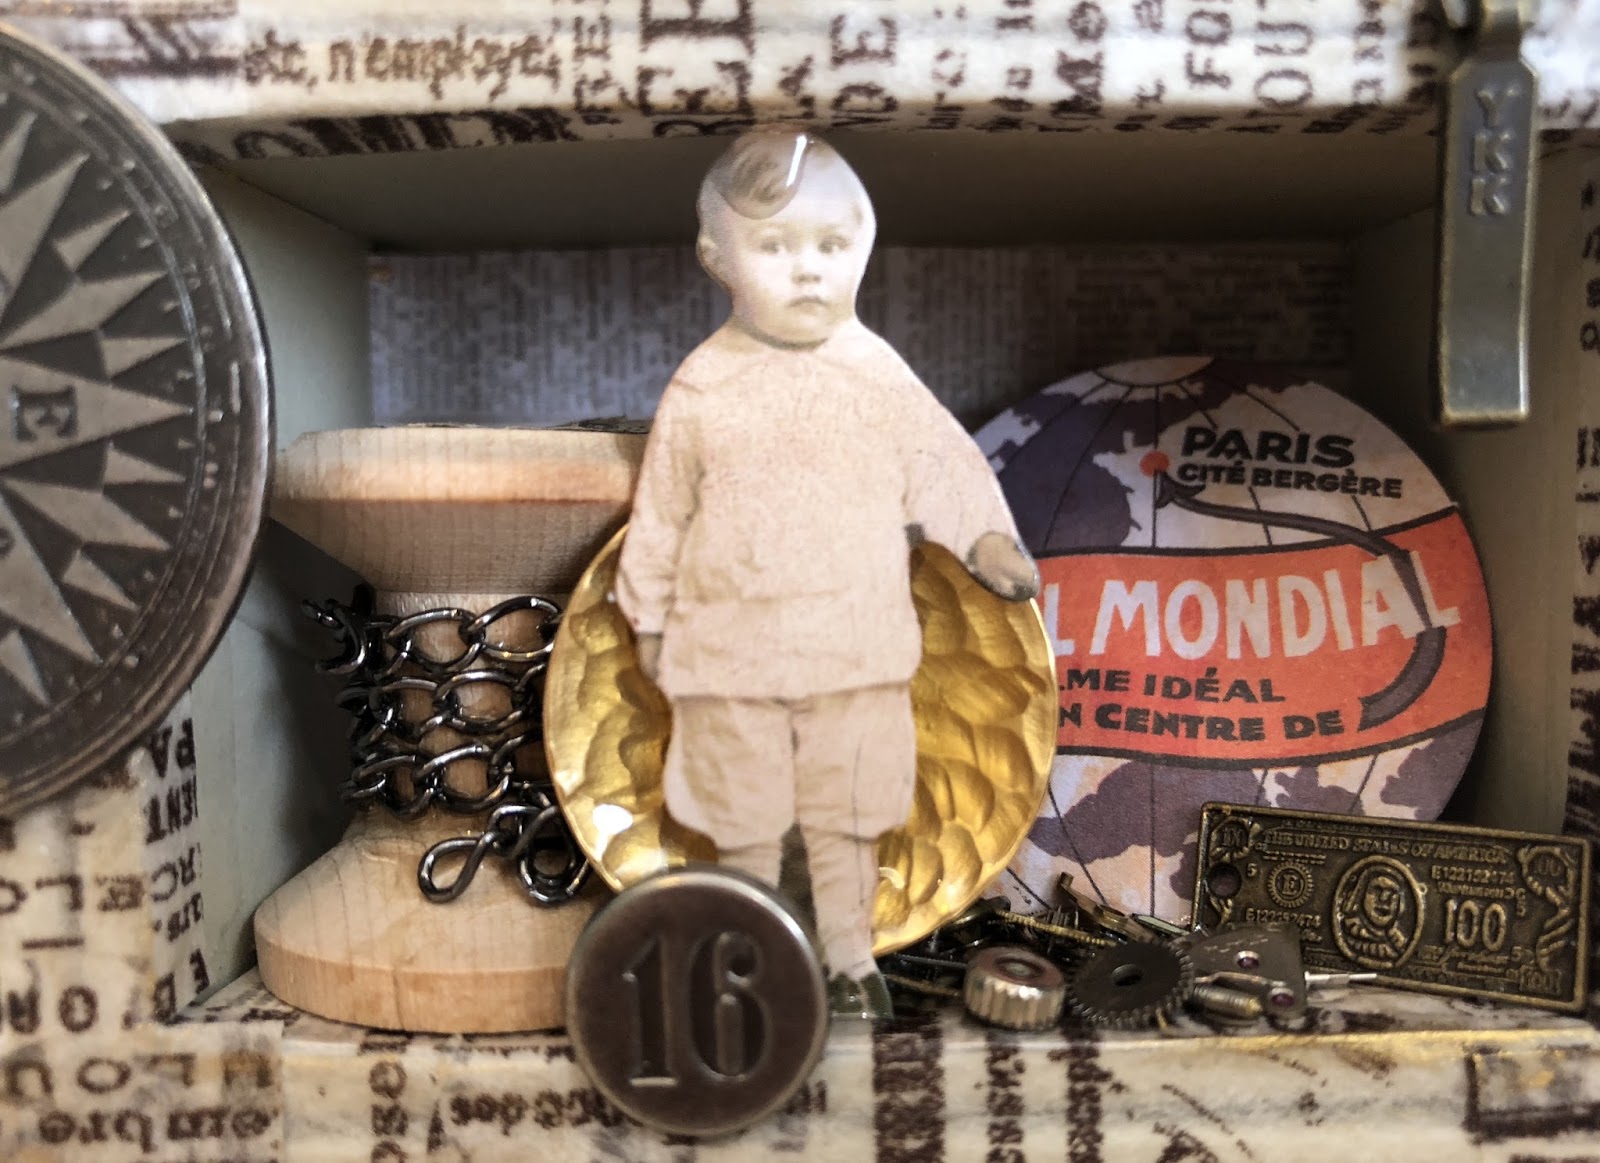
Rebecca here today with you to share a created Tim Holtz configuration box. I cannot lie, Tim is my crafting hero, I feel we may be kindred spirits. I love ALL Tim Holtz products, I cannot get enough of them and will happily admit I have a good stash to stare at and admire. 

This box is packed with Idea-ology product and Scrap Matrix metal, combined also with my personal stash and vintage bits and pieces I had here in my craft room.  I do apologise in advance as this blog post is a little heavy on the photos, I wanted to ensure you all got a very good look around the entire box. 

For this project I have used a Tim Holtz configuration box from my stash, however you can use other things to create a project like this such as printers trays, jewellery box trays, boxes etc. Think outside the box (literally). 


I urge you to look through the close up photos below to see what can actually be used in a project like this. There are items that were destined for the bin, they actually look good here - buttons, champagne metal top, rusty thimble, watch parts, light bulb from my Mum's Rav 4, broken jewellery chain. Never ever be afraid to experiment. 


May thanks for checking into the blog today to take a look at my project. Please if you have any questions at all do not be afraid to get in touch and ask. I look forward to seeing all your creations in the Scrap Matrix Ranger challenge this month. 

Wishing you all a happy and creative day.

~ Rebecca ~


Scrap Matrix Supplies Used


Saturday, 10 February 2018

Another Holiday Moodboard Share!!

Hi Everyone,

It's Monique back again with another January Holiday Moodboard Share.  What can I say?  I have been ULTRA inspired by this gorgeous Moodboard:


This time, I was inspired by the gorgeous colours and all the beachy references when I created this layout:


It is no secret at all that I love the beach.  We live right next to a beach in fact  -  but I have to say most of our holidays still revolve around going to a different beach...lol....

This photo was taken all the way over in WA, on one of the many beautiful rugged beaches that South West WA offer.  It was our first "family" holiday, and one of the best holidays I have ever enjoyed.

As I said earlier, I was so inspired by the gorgeous sands and greens in the moodboard, so I chose some of the gorgeous Blue Fern Studios Wanderlust Papers to play with.  I picked Blue Fern Studios "Wanderlust" range - I used 2 sheets of "Ocean Voyage."  The base paper is the green side, and the top layer is the sandy coloured paper.

I love love love using texture in my layouts, so I used a load of distressing - and inking with Tim Holtz Distress Oxide Ink in Peeled Paint.  I added some hessian and some straw mesh in between the layers of paper to add even more texture.  I increased my layers by adding some texture paste with a stencil, just under where I planned to put my embellishments.  Finally, I flicked on some Lindys Stamp Gang Ink in Shabby Turbine Teal and Cattail Copper Brown to bring out the colours of the paper.

I chose some flowers to add balance and complement the papers, and popped a few of the Blue Fern Studios Chipboard, which I painted with the gorgeous Finnabair Opal Magic Paint in Green/Gold.  I also painted my title chipboard in the same beautiful paint.  It has such a yummy shimmer to it!  I also added some 13 Arts Dried Moss into my clusters.  It also fits so beautifully well with beachy layouts.

Here are some close ups:


The products I used on this layout that you can get from the Scrap Matrix shop include:


Well that's it from me today.  If you are looking for something to do this weekend, you still have time to do this challenge - just upload it to the January Holiday Moodboard Challenge Album in the Scrap Matrix Shares Facebook Page.

Happy Scrapping Everyone!


Thursday, 8 February 2018

Second Holiday Share - Mixed Media Canvas by Rebecca

Hello Everyone,

Rebecca here with you today to share my second project for the holiday challenge this month with Scrap Matrix. Now I know you will be looking at the below mixed media canvas and thinking, hmmm Rebecca, what does this exactly have to do with holidays?. Well, it was created during the school holidays, this still kind of counts right?. I really wanted to take the 7 Dots Studio Paint Chips collection and apply to bright and funky canvas. I know this is a little on the different side but I am happy with the results. It is good to step out of your comfort zone. 

Here is a side view of the canvas...

To begin my canvas I adhered Paint Chips paper to the canvas, the main base and all the edges.


I really didn't like the clean white edges so decided to cover them in tissue tape. Tissue tape sometimes does not stick down too well, to ensure complete adhesion I used double sided tape underneath it. 


The Prima 'Paint Splatters' stamp set worked so well with this collection. Random stamping around the main part of the canvas and the sides. 


Finnabair Art Basics Soft Gloss Gel was applied to the canvas through a stencil.


When the Soft Gloss Gel was later dry I added a touch of Art Alchemy Metallique Wax in Vintage Gold. As I wanted the dots to pop a little more I traced around them a black water pencil then smudged it a little with my finger and water. You will see here in the bottom corner beautiful box corners which are also available in the Scrap Matrix store. 


Art Extravagance Texture Paste in colour Graphite was then applied throughout the gaps around the canvas and also to the sides of the canvas. This paste although grey when you look in the tub, it does dry get black (as you can see). 


My flowers were created using a combination of Paint Chips die cut paper, old spoons, zipper flowers and seed beads. 


Thank you everyone, I hope you enjoyed my little step by step through this creation. There is still a few days to enter our Holiday Challenge, looking forward to seeing more of your creations.

Wishing you a happy and creative day.

~ Rebecca ~


Scrap Matrix Products Used 


Monday, 8 January 2018

Paper Artsy Tags - Rebecca's Second Share

Hi Everyone,

Rebecca here with you today!. I would like to bring you a small step by step tutorial showing you how to create a small series of gift tags using a set of Hot Pick stamps from Paper Artsy.

I began with blank manilla tags.....


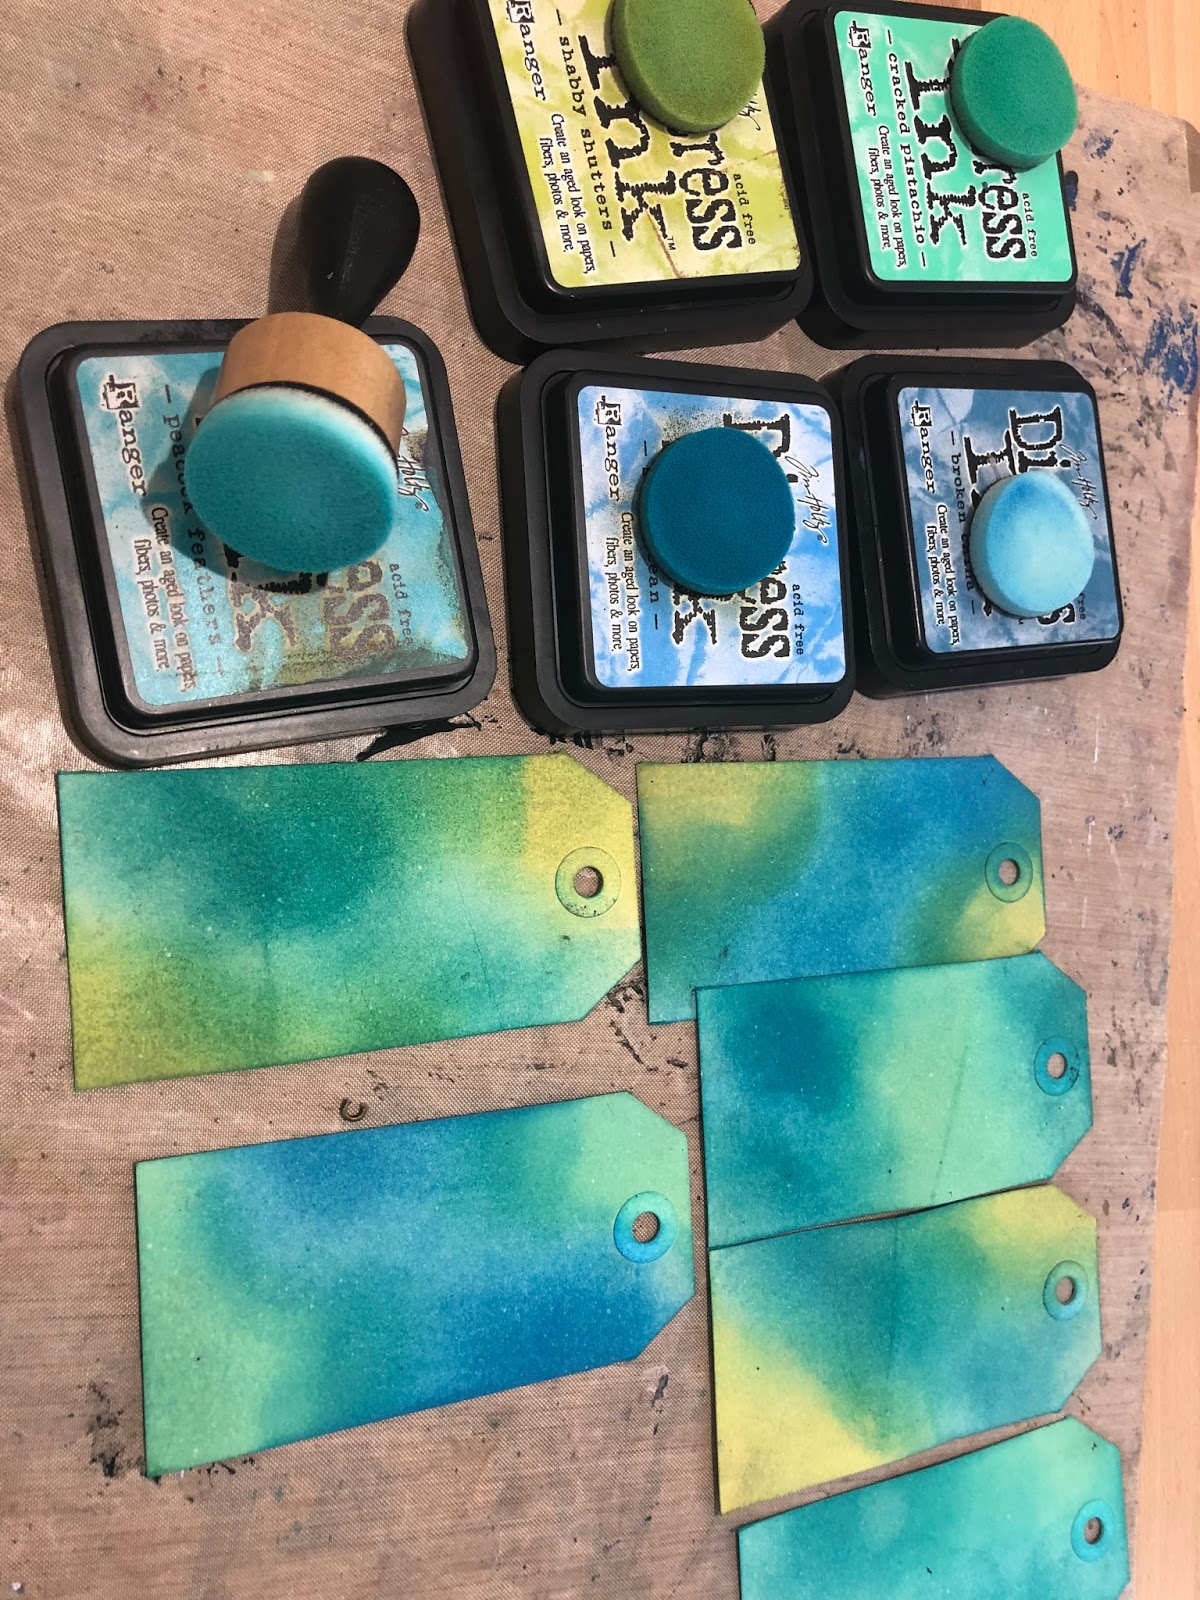
To create the vibrant background colour I used Distress Inks  from Ranger. To apply the colours I used a Inkblending Tool, dabbed into the ink and lightly moved in circles around the tag blending the colours together. 


In a spritzer bottle a small amount of Primary Elements Mica Powder in Emperor's Gold mixed with water was sprayed through various Tim Holtz Stencils to give a nice background effect.


Stamp, stamp, stamp with this beautiful set of stamps.


German Scrap was adhered small dots of Glossy Accents and raised dots of Glossy Accents were also applied for further dimension. When the dots were dry a small amount of Metallique Wax in Gold was rubbed on.


The final step was to add small accents of colour using the beautiful Prima Metallic Watercolours and a brass Scrap Matrix Metal accent to hang a ribbon from.


Many thanks for popping in today, please do not forget you have until the 15th of January to enter the Paper Artsy challenge within the Scrap Matrix Facebook Shares group.

Wishing you all a very happy and creative day.

~ Rebecca ~

Scrap Matrix Products Used