Showing posts with label Distress Inks. Show all posts

Saturday, 7 March 2020

'Experiment'
with Lisa Amiet


Hello, Scrap Matrix fans!

It's Lisa here today to share some 
Paper Artsy lovin with you all!


My absolute favourite designer for Paper Artsy would have to be the 
awesome Seth Apter.
There is something about his grunge level that I just love.

So here is what I created


I have started by using my 'Liquitex Gesso',
to seal the page in my journal.


I have then used my 'Blue Fern Grungy Grid Stamp',
and 'Distress Ink in Weathered Wood'


I have used one of the stamps from the 'Paper Artsy ESA08 Stamp Set',
and 'Ranger Archival Ink' to randomly stamp my page.
Next, I have used my '7 Dots Studio Paintchips Hatched Stencil' 
and 'Dina Wakley Media Modeling Paste', to stencil randomly. 


I have then used a torn tag from the '12 x 12 Tags',
 from the Hazy Days collection from 7 Dots Studio.

I have also used that same circle pattern stamp and 'Vintage Photo Distress Ink'
to stamp onto '7 Dots Studio Writer's Block 12 x 12 Burden' paper, 
and then fussy cut them out. 


Next, I have used the main stamp from the set to stamp out, 
in both 'Weathered Wood' and 'Vintage Photo',
onto the '12 x 12 Burden Paper',
and fussy cut-out. 
I have then layered these onto my page, 
with cardboard in between for some dimension.


Next, I have used various ephemera pieces from the 
'Tim Holtz Idea-ology Expedition Pack', 


Add in a 'Lightbulb charm' :)


Yes, I scrunched that up into a ball and then straightened it back out,
I wanted some creases and roughness to it. 


I have also stamped out the 'Experiment' title and layered it onto my page. 


And finally, I added an 'Idea-ology Accoutrements - Classic',
layered with some 7 Dots Studio elements and word stickers.

I hope that you like what I have created. 
I'm really happy with how this turned out.

So, who is your favourite designer for Paper Artsy?
We'd love to see your take on this.

Until next time!

Lisa 


Scrap Matrix Products used:

Weathered Wood &
Vintage Photo


Monday, 22 October 2018

"Envelope Junk Journal Tutorial'' by Elisa Ablett

Hi Everyone, 

My turn up on the blog today with my latest design team inspiration based on this month's 'You've Got Mail' challenge over on the Scrap Matrix Shares Facebook Group

I had come across this awesome Envelope Journal tutorial and thought I would put my spin on it. The original video (giving credit where credit is due!) that I watched is - Emora Designs - Papercraft Star - Envelope Journal Tutorial


Here are my attempts at a tutorial for you all 😂😂
Now you may be asking yourself ' why is she laughing' well to put a disclaimer on my videos for you, i was battling a chest infection, coughing, losing my train of thought, my cheeky puppy dog that ran into my table and knocked my camera askew..I decided just to run with it, so you will have to be kind to be me and hopefully if you can get past all what went wrong with the videos, you may find something in there you may want to try.

Here are my finished Envelope Journals - 


Here are the Youtube links to my tutorial videos - Head on over if you want a bit of a laugh and perhaps learn how to put together an Envelope Junk Journal.


Here are some close ups of the Gel Print Envelope Junk Journal


Here are some close ups of the front cover of the Shabby Chic Junk Journal using the Stamperia Blues Collection from Scrap Matrix.


 Products used from Scrap Matrix :-

Stamperia Blues Paper Collection
Distress Inks - Vintage Photo, Black Soot and Walnut
Paper Artsy Fresco Paints
Paper Artsy Stamps and Stencils
Gel Press - A4 Gel Plate
Scrap Matrix Metal Feather Embellishments
Scrap Matrix Twine
Scrap Matrix Postage Stamp Wood Veneer
Dina Wakely Stencil


Well that's it from me today, I hope you are inspired to give this month's challenge a whirl!!

Hugs

Elisa xx


Saturday, 22 September 2018

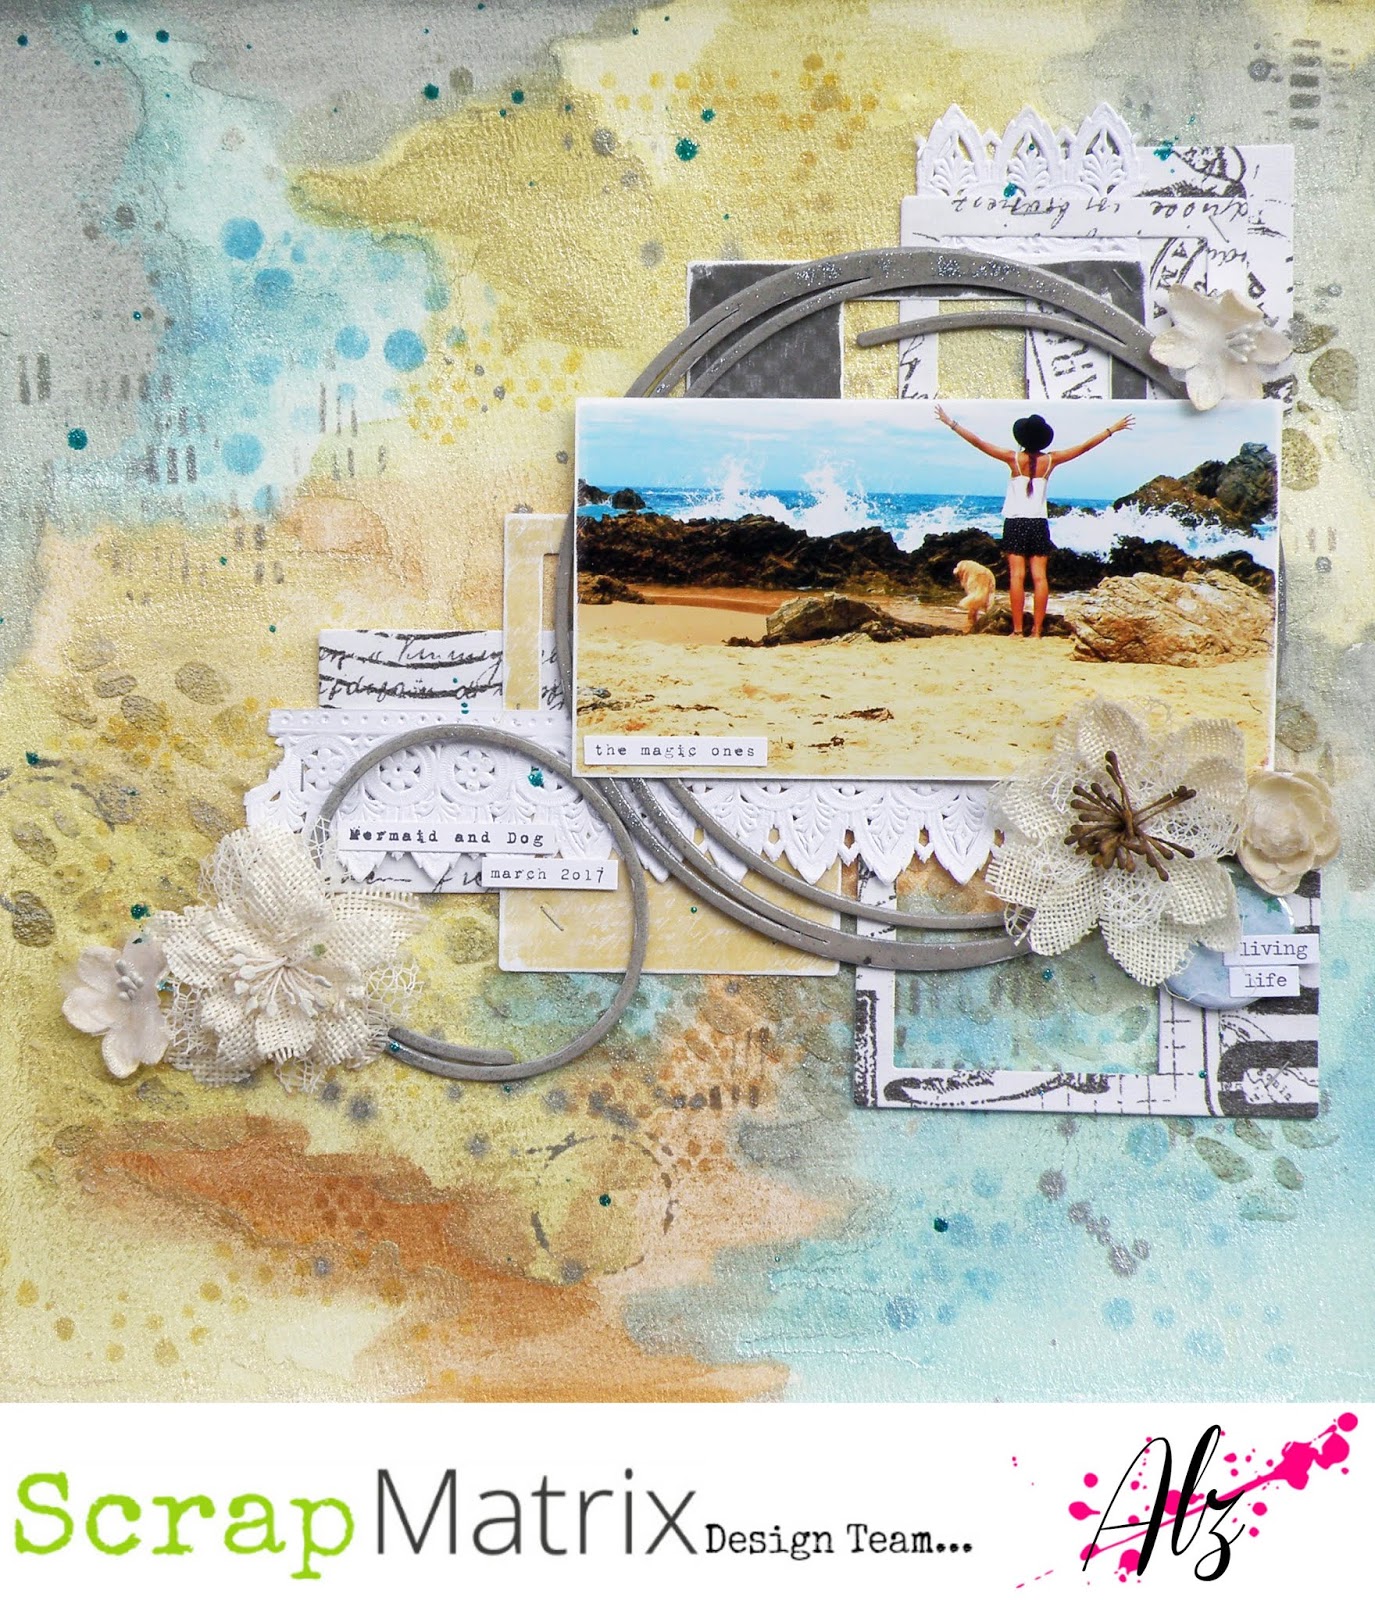
Living life .. with Alz

Morning peeps!

I'm here to share another "You've been framed" layout with you ..

Living life


I had a ton of fun creating the background for this layout. It was a bit of an experiment with a new product (new for me that is) for adding colour and I wasn't at all sure how the colours would turn out. With a bit of blind faith, and a lot of Prima Metallic Accents Semi Watercolour Paints I made this ..

(I used a sheet of 12x12 heavy weight watercolour paper)

I love the way the colour has seeped into the watercolour paper whilst the mica powder has stayed on top, giving a kind of blended but opaque finish at the same time. Super cool!

Whilst this was drying, I played with the idea of leaving the background as it was to show off the beautiful colour, shimmer and shine, or to add more layers. In the end, more is always more, lol, so I grabbed some stencils (many stencils!) and my Tim Holtz Distress Inks (Mustard Seed, Scattered Straw, Tumbled Glass, Pumice Stone, Tea Dye and Broken China) and using (mostly) like colour on colour, went to town.


So I'm digging this, but it needed more because, well, more is always more! It needed texture. Something organic and beach-y. Because this was my photo ..
(I love, love, love the new Tim Holtz Mixed Media Mat!)

The Finnabair Texture Paste in White Sand with the Joggles 9x12 Wander stencil would be perfect, or so I thought.

But, once dry, now you see it ..
and now you don't ..
.. which was a bit of a nuisance cos I wasn't going for 'subtle' lol!
(Oh and this depended on the angle from which you were looking at the background.)

What to do la? It'd been a while since I played with my Faber Castell Gelatos so figured 'why not?'. Using Gold Champagne and Silver Ice from the Metallics pack, I placed the Joggles stencil back over the White Sand Texture Paste and smeared the Gelatos on top of the texture paste with my finger and once dry ..

now you see it ..
and now you don't now you still see it ..
magic! (lol)

That was my background done and dusted.

I knew I wanted to use polaroid style frames and chipboard circles to create a layer of frames behind my photo. Because I couldn't cut in a straight line if my life depended on it, I decided to die cut some frames using both 13@rts Colour Basics patterned paper from the 6x6 pad and Tim Holtz Idea-ology tissue paper which I adhered to white cardstock to give it some substance. Although the tissue paper I used is currently not in store, you could just as easily use the Botanical Collage Paper.

For my chipboard circles I used Blue Fern Studios Graduated Circles, the largest of which measures 11" across. The smallest, which I've used on this layout, measures 3" across. In all, you receive five funky circles in the one pack. Oh and I also used the 6" circle on my layout.

(cool huh?!)

I inked both circles with the Pumice Stone Distress Ink, coated them with Ranger Glossy Accents and, whilst wet, sprinkled on some Prima Art Sugar Glitter in Antique Silver. I stapled my paper frames to my background, glued down my chipboard circles, added White French Lace Embossed Paper Lace, and that was my layers done.

ps: if you check out my yellow polaroid frame you can see
that I can't even die-cut in a straight line lol!!

As you probably know by now, I love using flowers on my layouts. This one would be no different and, luckily for me, Petaloo had the perfect flowers for my page .. Ivory Burlap Blossoms and Ivory Mini Paintables. I tucked a teal bloom Um Wow Flair in with a couple of my flowers and added my title "living life" using individual words from Tim Holtz Idea-ology Chit Chat Stickers on top. I printed my journaling using a free font 1942 report and I was done. Here's a few close ups of my finished page ..


Oh and by the way I forgot to add that when it was all stuck down and finished, or so I thought, I decided to flick around a small amount of Turquoise 13@rts Splash Glitter Ink!

Have you thought of playing along with our "You've been framed" challenge this month? You have until midnight on the 30th to upload a pic of your project to the Scrap Matrix Facebook Shares Page. Oh and heh don't forget to let us know which products available from Scrap Matrix you've used.

That's it for me today. I hope you're having an awesome start to your weekend.

'Til next time.

Cheers .. Alz  :)


Scrap Matrix products used:
Prima Art Sugar Glitter - Antique Silver
13@rts Splash Glitter Ink - Turquoise Glitter
Save

Friday, 18 May 2018

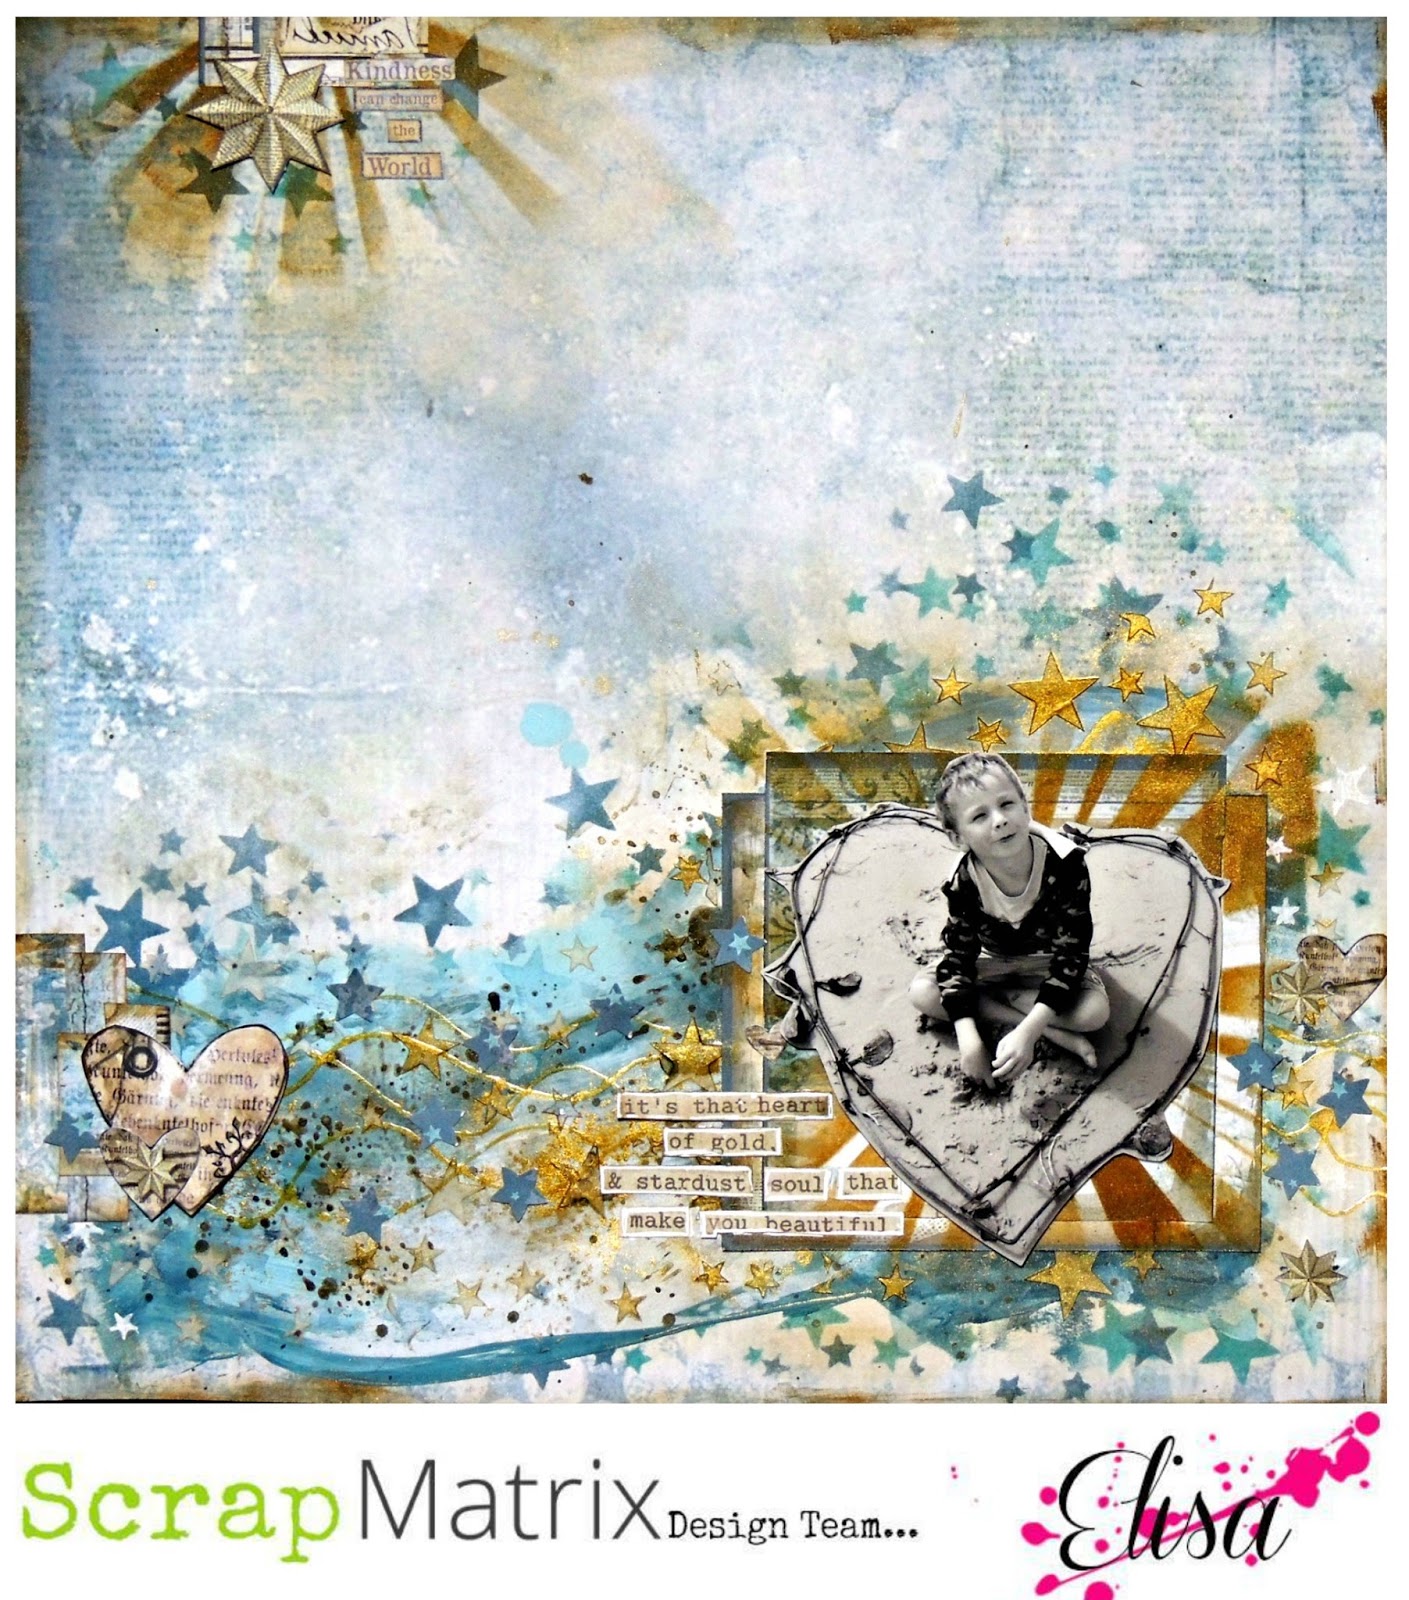
'Heart of Gold' by Elisa Ablett

Hi Scrap Matrix Fans!

Elisa here from the design team for Scrap Matrix with my latest layout based on the new Challenge for this month - What's the Point ? all about pointy things on your layouts this month.

No automatic alt text available.

My layout features Stars as my pointy feature.

I have created a step by step flip video for you to follow if you wanted to try a few of the techniques I used.  I have posted the video and the link to my Youtube Channel.


Here are some close ups of the finer details -


Here are a few of the products I used from the Scrap Matrix Store


Thanks for stopping by the blog today,

Head on over to my Youtube Channel and Instagram to subscribe :-) 


Hugs 

Elisa xx