
Hi Scrap Matrix Lovelies!!
It's Karyn here and this is my second post this month as a guest DT member for Scrap Matrix!! The Scrap Matrix challenge for October is "You've got mail".
I decided to create an mini album using a single sheet of 12x12 paper! Here is a pic of the finished album. it contains 16 pages and is approx 3" x 3" in size.

Here is the challenge inspiration pic.

I've used a sheet of 12x12 white cardstock to demonstrate how to make the mini-album base. The first thing I do is check that the sheet of cardstock/paper is 12"x12". Then score every 3" both horizontally and vertically (see dashed lines), then fold along these lines. When you are folding just do a gentle fold so the paper doesn't break. After scoring I cut where the solid line is shown.

Here
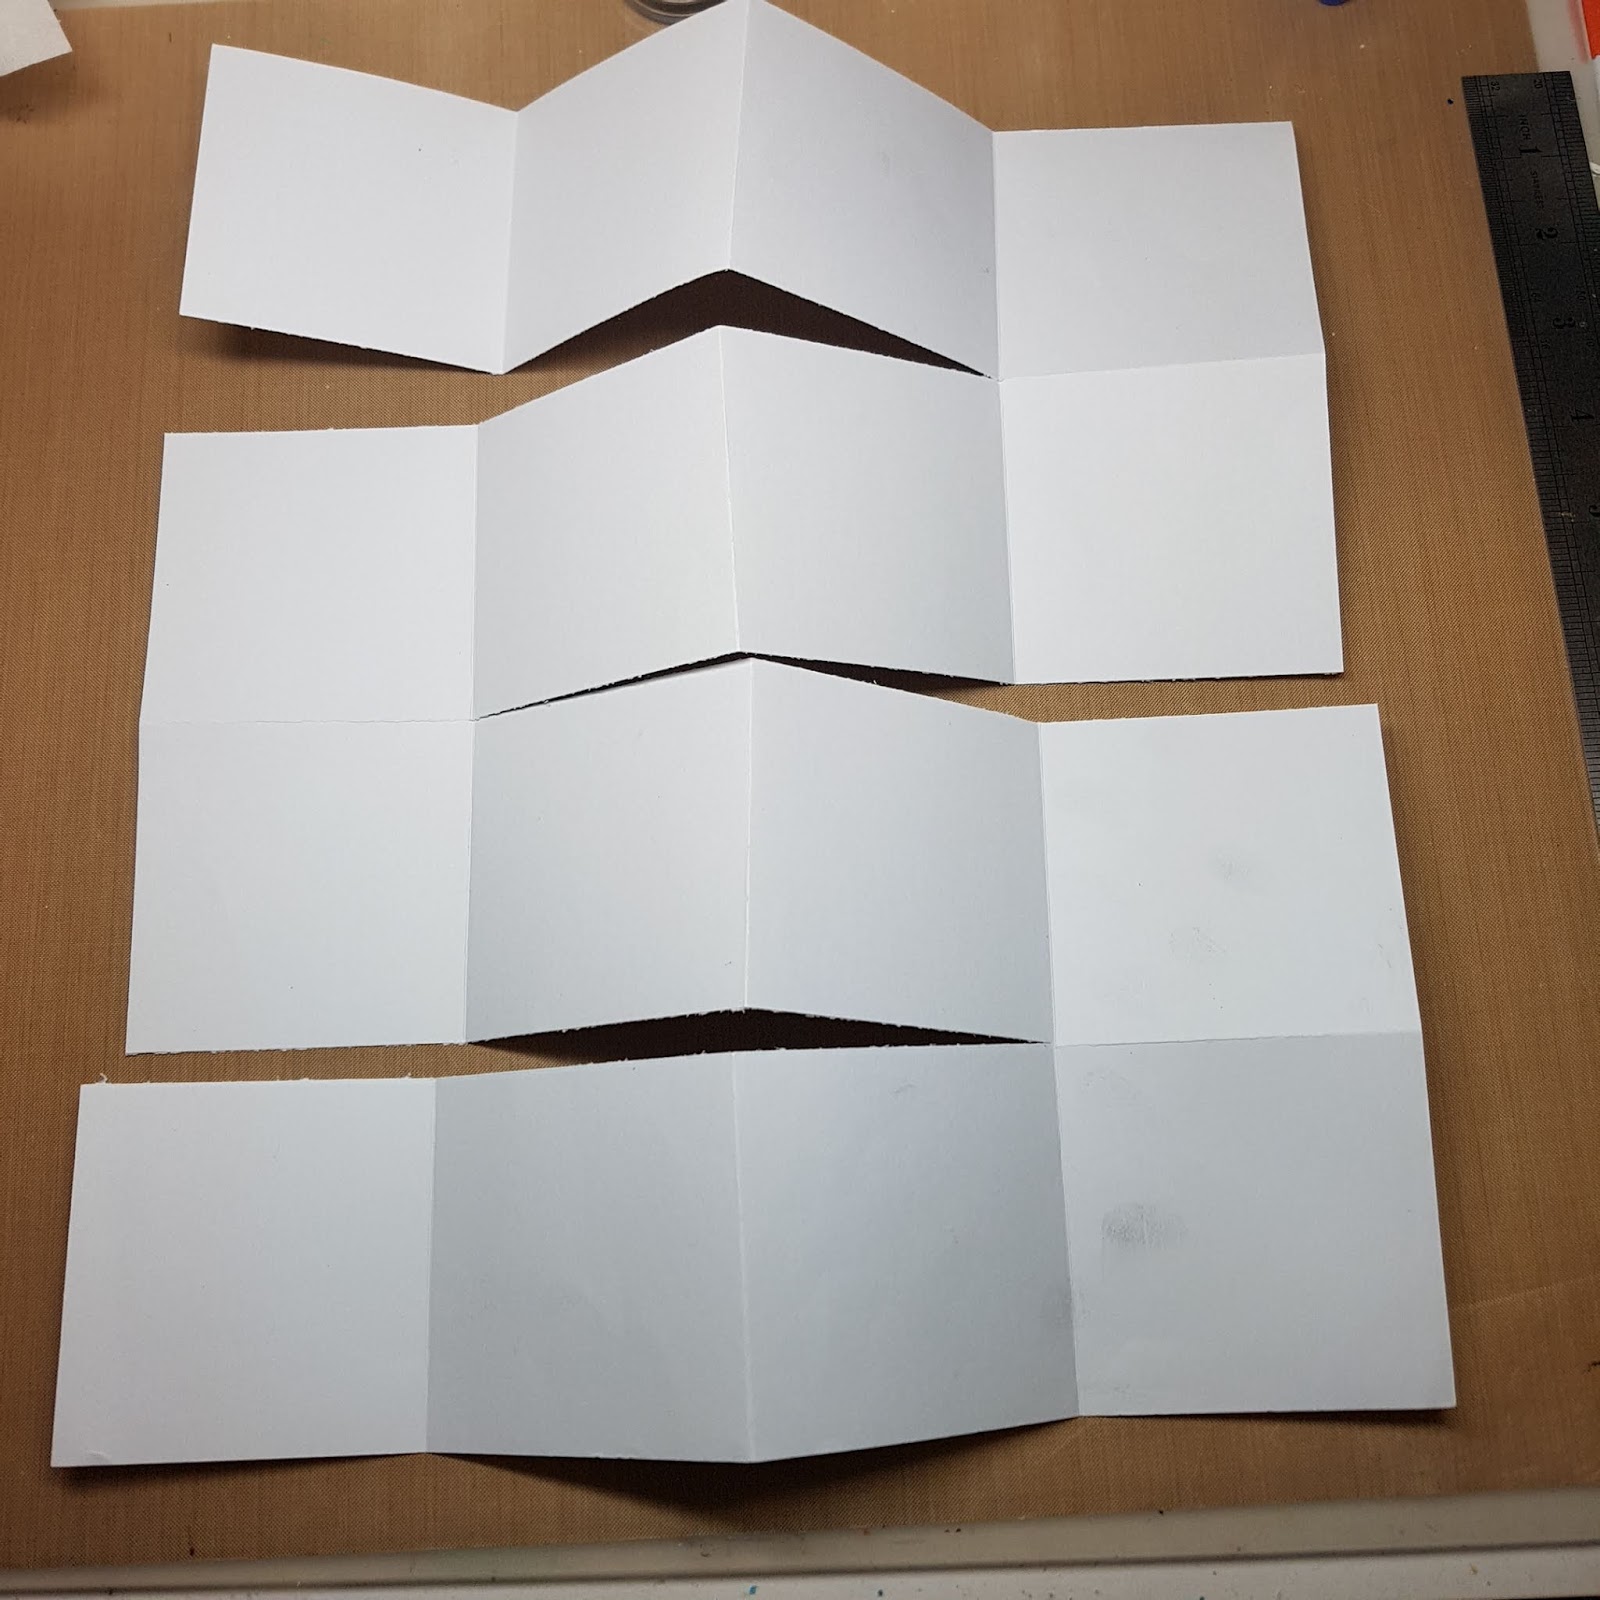
you can see the folding and the cutting. The direction of folding is
specific so the paper has a concertina effect (fold one way then the
other etc).
 To
complete the folding start at one end of the paper (the top left
corner) then keep folding the paper one way then the other. At the edges
ofnthe 12x12 sheet the folding is at the bottom rather than the side -
this is what you want! You finish with a stack of pages like this.
To
complete the folding start at one end of the paper (the top left
corner) then keep folding the paper one way then the other. At the edges
ofnthe 12x12 sheet the folding is at the bottom rather than the side -
this is what you want! You finish with a stack of pages like this.
 Select
the spine for the booklet so that you open the first page as you would
expect. Then if you hold the next 2 pages together (along the fold) this
forms the second page etc. You adhere the pages together so that you
end up with a booklet of 16 pages (8 openings).
Select
the spine for the booklet so that you open the first page as you would
expect. Then if you hold the next 2 pages together (along the fold) this
forms the second page etc. You adhere the pages together so that you
end up with a booklet of 16 pages (8 openings).
 For my booklet I've chosen this sheet of 7 Dots Studio Garden Party "Fairy lights" paper which I've scored, folded and cut as described previously.
 This is what it should look like as it is folded.
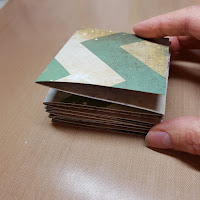


 Next adhere the pages using a strong adhesive.
 Make sure to line up the edges carefully.

Continue
with the adhering. On the pages with the fold on the bottom I leave the
side edge open so i can add tags. You could also do this on every page
if you like.
 See the tag opening.
 Continue until all folded pages are adhered together.
 I add a ribbon (19" long) around the front and back to hold it all together.

 Then
add a cover. The cover hides the attached ribbon and strengthens the
spine. For the cover I use cardstock measuring 3.25" x 6.75" (with a
0.5" spine).
Then
add a cover. The cover hides the attached ribbon and strengthens the
spine. For the cover I use cardstock measuring 3.25" x 6.75" (with a
0.5" spine).

 Now
it is time to decorate! I tend to keep it simple. I've used a limited
selection of embellishments throughout. I've focssed on word quotes on
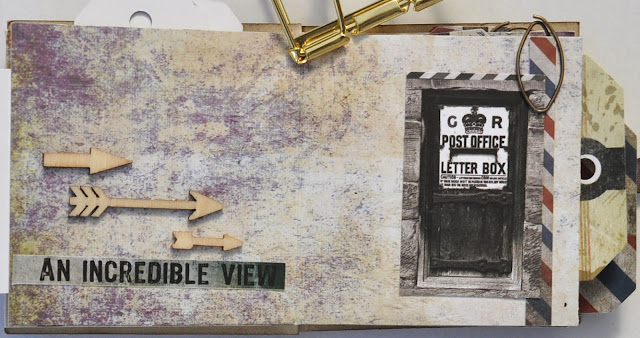
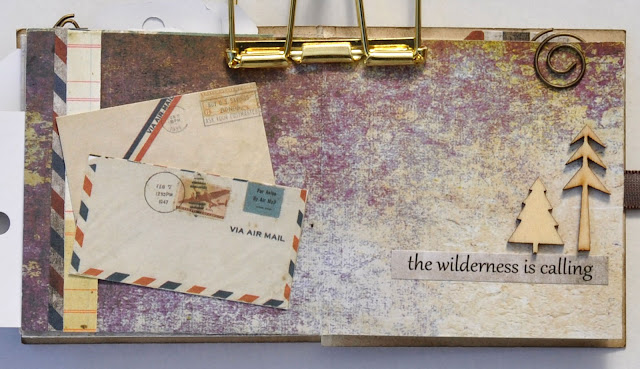
each page but you could add photos if you prefer. I've used German scraps embellishments, 7 Dots Studio Air mail 6x6 pad, 7 Dots Studio Air mail tags, 7 Dots Studio word stickers, wooden envelopes, wood veneer, paper clips and mini envelopes. I've cut the pictures from one of the papers in the paper pad. These pictures follow the challenge theme of "you've got mail". I love the vintage pictures of post boxes and envelopes!
Now
it is time to decorate! I tend to keep it simple. I've used a limited
selection of embellishments throughout. I've focssed on word quotes on
each page but you could add photos if you prefer. I've used German scraps embellishments, 7 Dots Studio Air mail 6x6 pad, 7 Dots Studio Air mail tags, 7 Dots Studio word stickers, wooden envelopes, wood veneer, paper clips and mini envelopes. I've cut the pictures from one of the papers in the paper pad. These pictures follow the challenge theme of "you've got mail". I love the vintage pictures of post boxes and envelopes!

Here are photos of each of the pages. Excuse the gold paperclip I had to use to keep the pages open while photographing.





Thanks so much for stopping by
Crafty Hugs xx
Karyn

It's Karyn here and this is my second post this month as a guest DT member for Scrap Matrix!! The Scrap Matrix challenge for October is "You've got mail".
I decided to create an mini album using a single sheet of 12x12 paper! Here is a pic of the finished album. it contains 16 pages and is approx 3" x 3" in size.

Here is the challenge inspiration pic.

I've used a sheet of 12x12 white cardstock to demonstrate how to make the mini-album base. The first thing I do is check that the sheet of cardstock/paper is 12"x12". Then score every 3" both horizontally and vertically (see dashed lines), then fold along these lines. When you are folding just do a gentle fold so the paper doesn't break. After scoring I cut where the solid line is shown.



Here are photos of each of the pages. Excuse the gold paperclip I had to use to keep the pages open while photographing.


Thanks so much for stopping by
Crafty Hugs xx
Karyn


