Morning peeps!
Today I'm sharing my first layout for the current Scrap Matrix challenge ..


Important notice
Our challenge now runs from the first day of the month to the last!!! :)
Today I'm sharing my first layout for the current Scrap Matrix challenge ..
Cherish

I was inspired by the soft photo of the baby in the moodboard ..

How could I not be? That baby is such a cutie patootie don't you think?? Anyways I have some photos of our friends' little girl Selina from when she was just a wee little baby. I'll be scrapping another photo of her soon and you'll see that she's grown just a tad. In fact, I think she's three now. But I'm terrible with dates and ages and stuff.
Moving on. lol. I really wanted to keep my page 'soft looking' (if you know what I mean) so decided to keep to a monochromatic colour scheme with a slightly shabby chic feel. I knew the Maja Design Coffee in the Arbour vintage pink tones would be perfect, and I love using patterned paper for my backgrounds, so used the Raspberry Cupcake. Oh and the Maja Design papers are just beautiful .. a lovely heavy weight, soft to the touch, perfect for distressing, and the patterns just sublime.
Although the Raspberry Cupcake would have been perfect just as it was, I wanted to add my own touch to the background.

I did this by applying white gesso with a brayer (you can find one in here) adding some Finnabair Texture Paste White Sand with Aall & Create stencil #10. Once all this was dry I reapplied the white gesso with a brayer over the texture paste. Then, once that was dry, I flicked on some Rose Bud irResistible spray.

I love, love, love the irResistible sprays. They dry almost glossy or even plastic-y and 'sit' on the surface as opposed, I guess, to being absorbed. Does that make sense? This colour (Rose Bud) was perfect for adding just a little pop of contrast.
Although I have other Maja Design Coffee in the Arbour papers I could have used for layering, I wanted to play with my Tim Holtz Distress Inks and Victorian Velvet was a perfect match for the Raspberry Cupcake paper. I dyed tissue paper, gauze and seam binding by squishing the ink pad directly onto them, spraying with water and working in the ink. I repeated this process several times to get the exact saturation of colour I wanted.

You can see I ended up tearing the tissue paper. Oops. I knew it wouldn't matter though as I could easily hide the tear in my layers. If you look again at my finished layout you'll notice I didn't end up using the gauze. It just didn't work. It was making the page too bulky and besides, didn't Coco Chanel say something about 'taking one thing off', meaning, I think, that simplifying things makes them more beautiful or classy or whatever?? Never mind. The gauze just didn't make it onto the finished page.
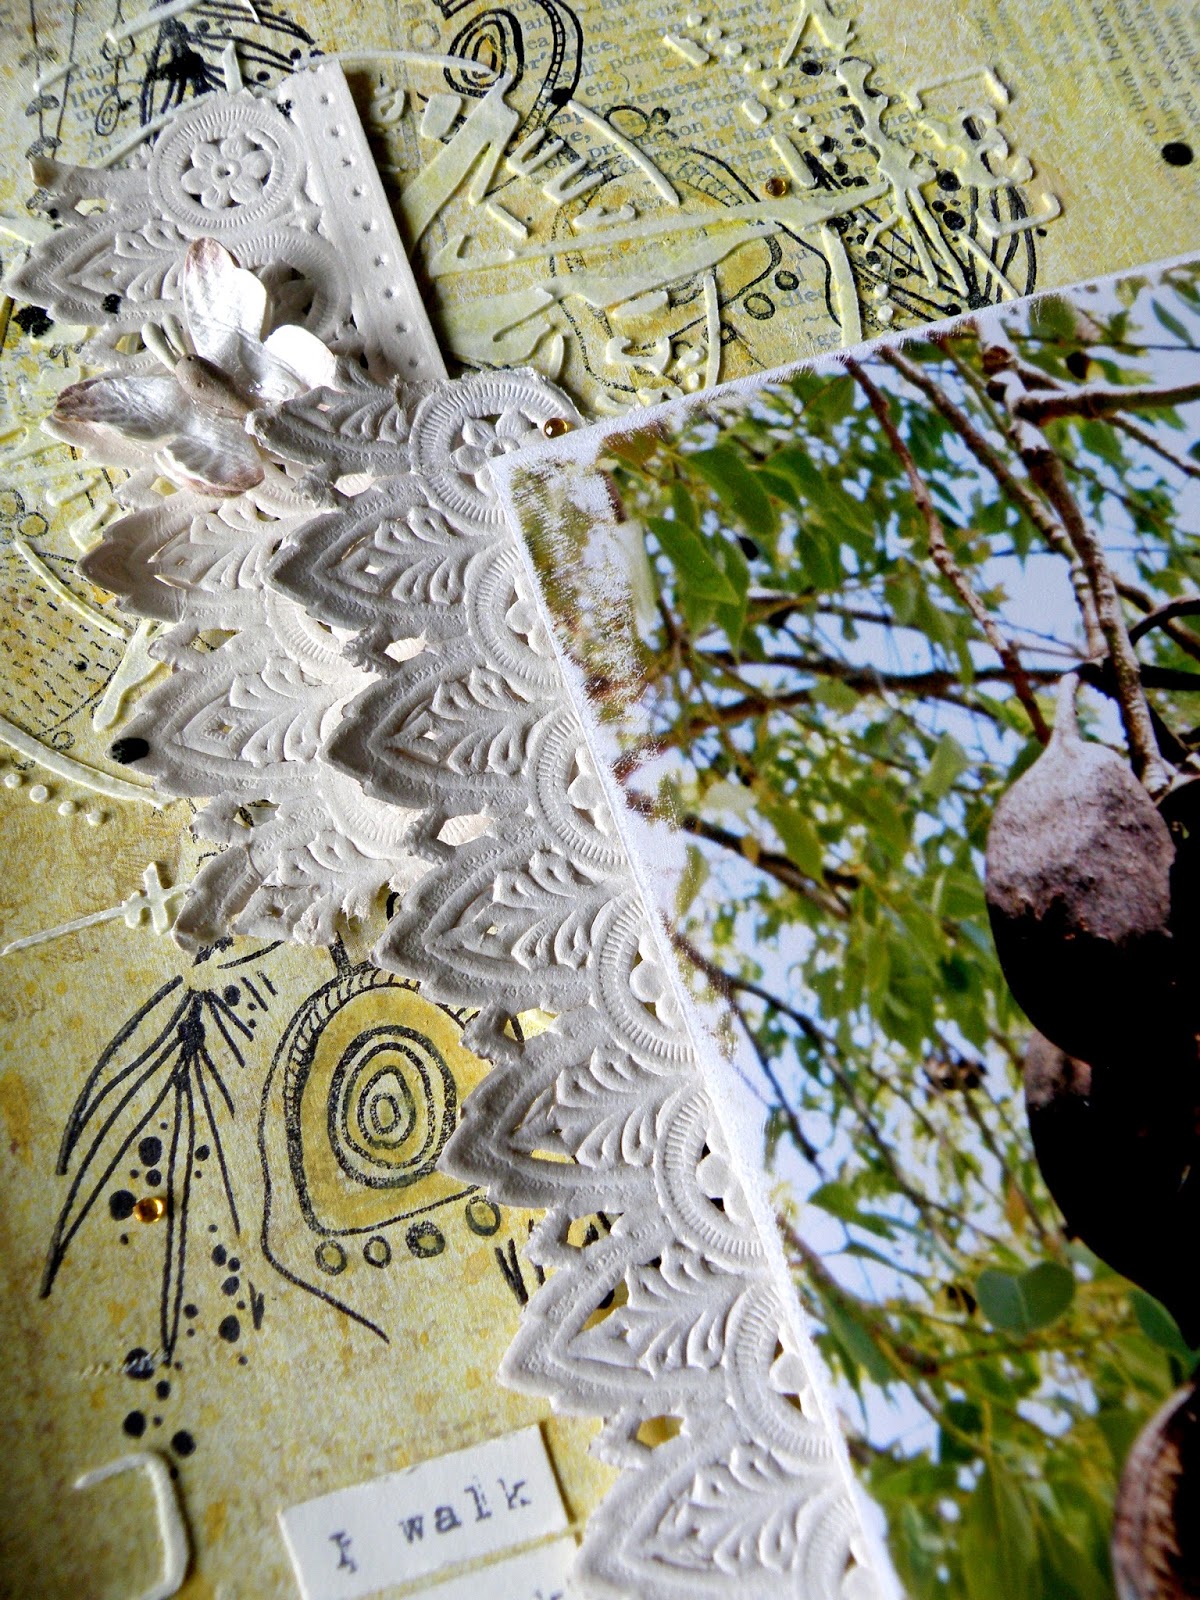
I also used the Distress Ink to colour a Chipboard doily border and Chipboard swallow. I painted the chipboard pieces with white gesso first so that I'd get the true colour of the Distress Ink shining through. Whilst the ink was still wet, I applied Glossy Accents. The Glossy Accents mixes with the Distress Ink, resulting in a lovely variegated, watercolour-like effect. I treated another chipboard piece, a flourish, exactly the same but I just wasn't happy with it and, in the end, these three pieces of chipboard on the layout were just one too many. So I left it off. But you can see it in the top right corner of a photo above. I'm setting it aside with the gauze to use on another project down the track some time.
Talking about setting things I don't use aside, a while back I sprayed a length of Embossed Paper Lace (White French Lace) with a Lindy's spray. It ended up not working for whatever project I was planning to use it on. So, I set it aside. Whilst rummaging through products to use on this project, I came across it and noticed the reverse was perfect for this layout! Bonus!

eeeek!

perfecto!
So I had my layers set and it was time to embellish. Keeping it simple, I used my chipboard pieces (duh lol!), I tied a double bow with the dyed seam binding, and added some Petaloo flowers .. Mini Paintables White Blooms and Fuchsia Botanica Minis.
I kept my journaling fairly simple; just a few words and a name and date. I printed these onto white cardstock with a free typewriter font I found online ages ago .. 1942 report. Then my title, which I also kept simple, using the word "cherish" from the Tim Holtz Idea-ology Chitchat stickers - Verbiage. Finito!
Don't forget Scrap Matrix has changed its challenge format. We now run our challenges from the 1st of the month to the last of the month. So you have until midnight on the 31st to get a pic of your project uploaded to the Scrap Matrix Shares Facebook page. Plus we'd love to know what products you've used which are available at Scrap Matrix .. I'm not alone in wanting to be inspired by your use of varying products!
Other than a few close ups ..


.. that's it for me today. I sooooooo look forward to seeing what you create for this month's moodboard challenge.
Happy crafting!
Cheers .. Alz :)

Scrap Matrix products used:
Tim Holtz Distress Ink - Victorian Velvet