Showing posts with label irResistibles. Show all posts

Sunday, 16 February 2020

What do to with all those "Disaster" prints.. By Tanya Froud

Hi there Tanya here with my second share for the month..

Now I'm sure we all have been playing with our Gel Plates, and I'm sure that you have a pile that didn't make the cut!!!

I know I sure do! Now what can we do with these so we don't waste them?? Rip them up of course!!!!

This first art Journal Page was done with bits of ripped up disaster pieces that could have gone to the bin, but the colors were still kinda pretty so they stayed on the heap.

Once i ripped them i stuck them all down with Mat Gel Medium and dried it. 
Once dry i stamped with Art Foamies and doodled with Posca Pens.

On my Gel Plate I prefer to use Dina Wakley Heavy Body Acrylic paint.


My second Art Journal page was also a piece that ended up on the scrap heap... I simply stamped with art Foamies and added some doodling with a irresistable pico embellisher to the page to bring it all together. Both these project also have stencils and quotes from Tim Holtz

Well Thats it from me this month. I do hope you are all having lots of fun "Making you Mark!"


Monday, 17 September 2018

Cheers by Sandra Brimelow

Hi everyone, I am back with my second layout for September as a guest designer for Scrap Matrix, for the frames challenge. Here is the graphic for the challenge:
I love how versatile this challenge is, so many different ways to use frames.
Cheers

This layout, had me go in a slightly different direction. I decided to cut a frame using one of my papers from the 13 Arts - Art Journey range - Creativity and Travel papers, which I used as a surrounding frame for the layout. 
Using the Tim Holtz distress oxides - Walnut stain, I added some depth to the papers, and also edged the frame.
To the backround I also spattered some Lindy's Stampgang Starburst spray - bodacious blush
A bit of stamping also added to the background using Ranger archival ink - jet black and Aall and Create stamp set #10, and Blue Fern Studio stamp set - texture circles.
To finish the background, I used Aall and Create stencil #10, and texture paste. I also spattered the background using Irresistible spray - wedding dress.
To embellish, I stamped some images using Aall and Create stamp set #11 and #44 and Tim Holtz distress oxides - walnut stain and tattered rose. I also added a little wood veneer frame to my cluster. The Tim Holtz Idealogy small talk stickers were also nifty little additions on the layout. 
To finish the layout, I embellished using Blue Fern Studio flowers - late winter lillies.
Thanks again Vicki and Scrap Matrix team and followers for having me as guest designer this month, I have enjoyed this opportunity. 


Tuesday, 21 August 2018

Inhale Exhale .. with Alz

Morning peeps!

You could be forgiven for thinking I'm about to run a relaxation class from the subject heading of this blog post but, trust me, I'm not. Instead, I plan to put you to sleep with my waffling instead.  ;)

Whilst I had several Aall and Create stamps and stencils laying around on my desk from creating projects for this month's Scrap Matrix Aall and Create challenge I decided to keep playing and came up with this ..
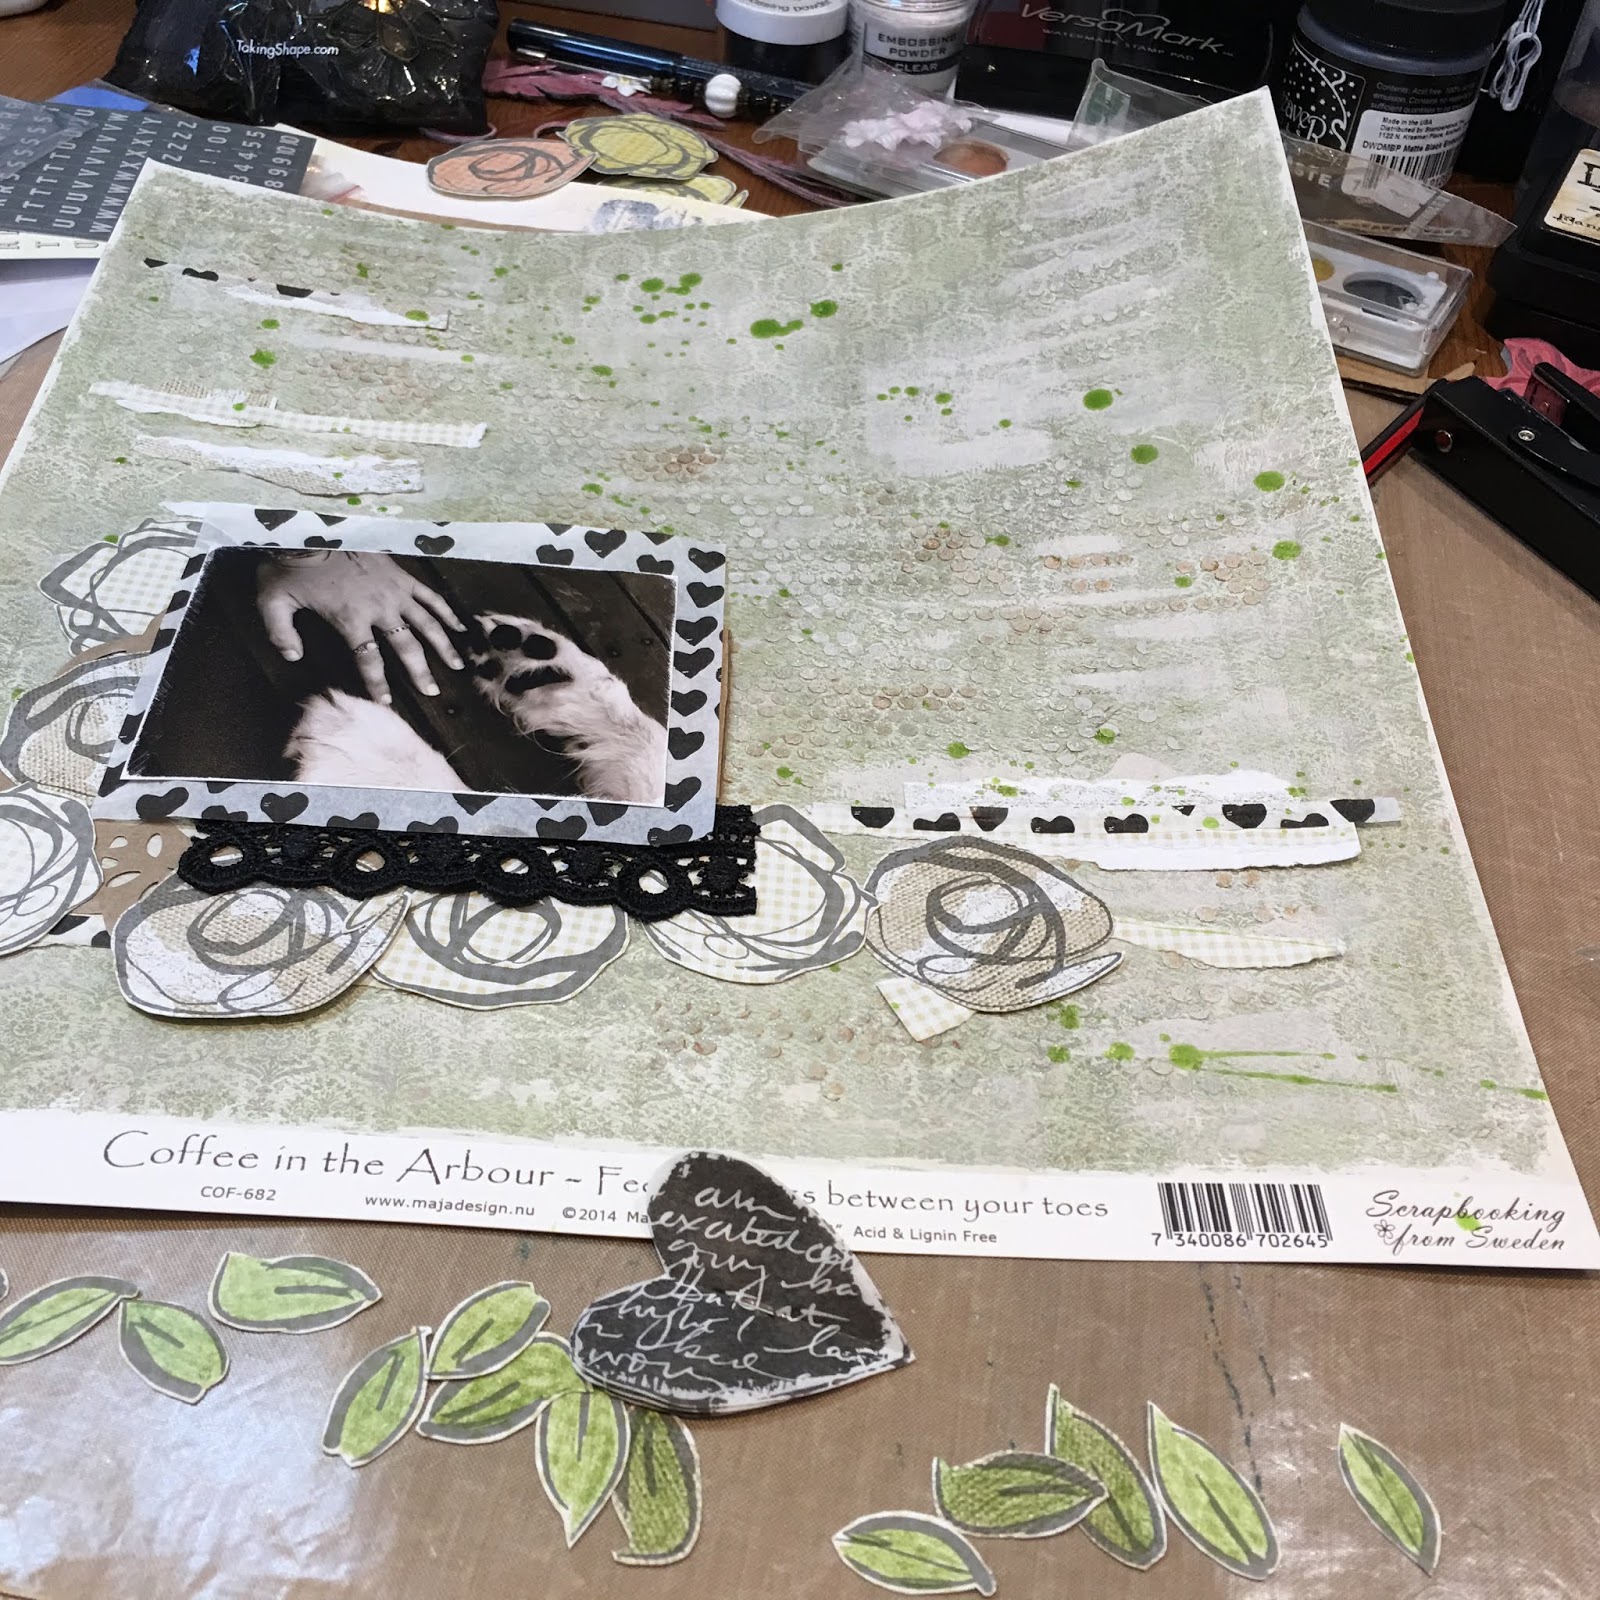
Inhale Exhale

Initially, I struggled with this layout big time. The background was killing me! I started with a sheet of 7 Dots Studio Dreamscapes patterned paper (Sunrise) because on the reverse there was about a three inch section that had the perfect colours for my photo. Thing is, those colours blended into a mostly rose pink-ish colour which, whilst also perfect for my photo, just wasn't doing it for me. I really wanted to bring in more of the yellows and oranges but hard up against the far side of the paper where that rose pink-ish colour was quite dark, it just wasn't working. Aargh!

(I used the reverse and you can see the colours I wanted to use in the top right hand corner)

What to do?? After contemplating my navel (and scrapping supplies) for oh, I'd say an hour, easy, I figured 'what's the worst that could happen?'. Right? So I pulled out my Tim Holtz Distress Oxides which, I'll confess, I haven't played with as much as I should have considering how long they've been gathering dust in my stash. Anyways. I figured Wild Honey, Fossilized Amber and Candied Apple might do the trick. At this point I wasn't sure exactly what that 'trick' would be and I was feeling kinda nervous. So I went back to what I know and smeared on a little white gesso with a brayer and spread about some Finnabair Texture Paste White Sand using Aall and Create Stencils. I used #10 (I think this is my favourite) and #8 which I especially love for travel pages. I went over my page again with a brayer and the white gesso to highlight the White Sand Finnabair Texture Paste as it had faded into the background just a wee bit, although the sandy texture was perfect.

Once all that was dry, I started mucking about with my Tim Holtz Distress Oxides. Other than watching some tutorials quite some time ago on You Tube I really didn't have a clue what I was doing.  I knew that if I heat dried them between each application the layers would sit on top of each other versus blending and potentially making a big muddy mess. I also knew that they would dry with a chalky finish. I knew I had seen a lot of successful finishes achieved on tags and cards, but not on a piece of 12x12 which I thought would be less manageable (I was wrong). Figuring I had nothing to lose I squished my ink pads onto my craft mat, spritzed the ink with water and literally started 'splodging' my page into the ink and drying it with a heat tool. As I continued 'splodging and drying' I could begin to see which sections on my page needed more of one colour than another. In the end, I had pretty successfully (or so I thought lol) blended the colours I was first drawn to in the 7 Dots Studio Dreamscapes Sunrise patterned paper, and I loved, loved, loved the way the inks sat on the White Sand Finnabair Texture Paste ..


I had ink left on my mat so also inked up a couple of paper doilies to use behind my photo and strands of gauze I later used to tuck in here and there. I used a Blue Fern Studio stamp (London Chronicle) and Jet Black Archival Ink to add some stamped detail on my background, one of the tags from 7 Dots Dreamscapes Tags 12x12 which I used to mat my photo, and one of the doilies.


I stamped some feathers from Aall and Create Stamp set #11 onto kraft cardstock, cut them out and stapled them together with a black feather from my stash. These were the foundation for my primary cluster of embellishments which also included some of that inked gauze strands, a Prima Archivist Ledger flower, a stick pin from my stash and a couple of leaves I made from a Large Square Brass flower (#5). These brass flowers are super easy to break up just by bending them back and forth and, in this instance, I painted them with black acrylic paint.


To balance my page I created another, smaller, embellishment cluster to the right of my photo. I cut a heart from one of the 7 Dots Dreamscapes Sunrise Tags 12x12 and inked the edges black. I added another Prima Archivist Ledger flower (it could not have been a more perfect match), another 'leaf' and more strands of gauze. I used Black Fitzgerald Thickers for my title and, because it was done and dusted (or so I thought) generously flicked around some heavy drops of irResistible Pico Embellisher in black. Unfortunately, whilst my page was drying, I accidentally smudged a drop of the irResistible Pico Embellisher and, taking into account Murphy's Law, it had to be the drop that was dead centre, right at the very top of my page. Aargh!!!! Buuuuut as we know, in scrapbooking, a mistake is just an opportunity and whist I could have used a sprinkling of something like black sequins from my stash, that didn't occur to me at the time lol! Instead, I grabbed one of my Tim Holtz pads with sayings printed on black and white strips (very similar to his Small Talk) and added a few. I actually reckon it might have just added the finishing touch I didn't know my page needed, and that was that.


Now, if you're anything like me, when you've finished creating you end up with one giant, big, chaotic mess of products on your table. Included in my messes are invariably bits and pieces I made which didn't make it onto my page. Ordinarily I store those bits and pieces in all sorts of places where they get lost and forgotten about. I'm kinda tired of that happening but find it soooooo hard to throw out these little creative 'gems'. My mess after this layout was finished included tissue paper, bits of doilies, gauze strands and seam binding, all of which I'd inked with the Distress Oxides. Also in my mess were packets of products I'd used and some I didn't (Yellow Crystal Stems and Nottinghill Black Embossed Paper Lace). Whilst wondering what I could do with my 'gems' and other products I remembered something I had seen shared in the Scrap Matrix Shares Facebook page .. Karen Stepney had decided to take her art journaling an extra step and made cards with a spare piece of paper on which she repeated her art journaling. Does that make sense? I figured, why not make a tag? I could always use it on a page down the track or even add it to a card. Who knew? I certainly didn't. But the idea was appealing, and so this was born ..

(thanks for the inspiration Karen!)

After all that it was time to clean up my mess, write a materials list, photograph my layout, write some blog posts, wipe down my table and sweep up the mess I'd made on the floor. What I wouldn't give for a personal assistant lol!

Anyways, you now only have until midnight on the 31st to get your project done and uploaded to the Scrap Matrix Shares Facebook page so you'd best get a wriggle on!! Oh and heh, don't forget to tell us which products you've used from Scrap Matrix .. I need inspiring!!

'Til next time!

Cheers .. Alz   :)

Scrap Matrix products used:
Tim Holtz Distress Oxides - Wild Honey, Fossilized Amber, Candied Apple
Archival Ink - Jet Black
Crystal Stems - Yellow
Save

Monday, 6 August 2018

Break the rules .. with Alz

Morning peeps!

Are we 'aall' totally in love with this month's Aall and Create challenge? I certainly am. This is what I created for my first project ..

Break the rules

Aall and Create .. oh how I love thee

I had no idea where I was headed with this page. Can you tell? I hope not! Lol. I was just so, so tired but at the same time, so, so inspired to get creating. So, 90% of this layout comes to you from the comfort of my sofa where I curled up and tuned out the voices of domestic chores calling my name.

I knew I wanted to experiment with 13@rts Rainbow Color duo powders on watercolour paper. You can find a selection of watercolour paper pads in store here. I use a variety of different watercolour papers when I'm creating, depending on what I'm doing. For this project I've used a hot pressed, extra smooth paper because I knew I was going to do a lot of stamping and that I wanted as crisp an image as possible. But I could have used any of the cold pressed papers in store and achieved pretty much the same effect. I'm just a tad pedantic sometimes, probably because I 'found' scrapbooking via rubber stamping and card making. Anyways, what's the difference between hot and cold pressed watercolour paper? There's quite a few differences but for the purposes of this layout, I was only interested in the surface finish and hot pressed watercolour paper is smoother than cold pressed. Having said that, I've cut down large sheets of cold pressed watercolour paper to 12x12 for making watercolour backgrounds and the difference in stamping quality is barely discernible. Like I said, I can be a tad pedantic at times.

So, first things first, I mixed three colours of the 13@rts Rainbow Color duo powders (Lilac, Navy and Indigo Violet) with water in a palette. The ratio of water to powder is completely up to you but if you want a darker, more intense colour use more powder. Conversely, the lighter your preferred colour, the more water and less powder you'd add to your mix.


I literally used a paint brush to splatter the paint onto my background.


I was especially interested to see how these duo colours would dry. I'm in love ..


Anyways I had what I thought was a totally rad idea .. I used a Fudeball pen to outline some of the smaller spots and then enhance them with a 'blob' of Glossy Accents. Big mistake. Huge. Lol. 


I really didn't like the end result. I figured it couldn't get any worse so I'd try covering up my 'blobs' with more 'blobs', this time with an irRestistible Pico Embellisher in white. Surely my 'blobs' couldn't look any worse??


If I had the patience and energy I might just have started over but it kind of felt like an okay save. If I were to play with this technique again I think I'd just use the Glossy Accents to highlight some of the spots. Or leave the spots alone.

Whilst all this dried I stamped a gazillion circles from Aall and Create stamp set #3 and half a dozen or so birds from Aall and Create stamp set #6 onto watercolour paper and then planted my derriere on the sofa for some painting (again, with the 13@rts Rainbow Color duo powders in Lilac, Navy and Indigo Violet) and cutting out. PS: At this stage I'm growing more tired by the minute and thinking of changing my personal blog name to "The Lazy Scrapper" lol!


Once this was done, the finish line was within sight. I stitched my watercolour background to a piece of dark indigo cardstock from my stash. Fortunately for me I like messy stitching because I'm not sure I could stitch a straight line to save myself. Although, I can when I'm sewing on fabric so I wonder what that's about?? I then applied some black texture paste across my page in three spots with an Aall and Create stencil (#4). I used a ripped piece of the heart patterned Dina Wakley Media Collage Paper and a length of white Embossed Paper Lace (French Lace) to mat my photo and then went to town playing with the placement of my 'gazillion' circles and the birds.


To create some depth and interest I mounted some of my circles with different sizes foam tape.


I was too tired to try and get my niece's copious amount of journaling onto the page, figured she could add it to the back later on, and so moved on to hunt for a title that seemed apt. I found the perfect title in a pack of Dina Wakley Media Collage Words which I stapled to my layout with a Tim Holtz Tiny Attacher. The final touches were adding two of my stamped birds and generous splashes of irResistible Spray in Wedding Dress which I ought to have shaken thoroughly to actually get white splats!


And that's that! A fairly funky page from the sofa of The Lazy Scrapper lol!!!

I hope you'll join us in playing along with this month's Scrap Matrix Aall and Create challenge. You have until midnight on the 31st to get a photo of your project up on the Scrap Matrix Shares Facebook page. Please don't forget to let us know which products from Scrap Matrix you've used .. I need some inspiration peeps!!

Now I'm going to crawl back to my sofa to chill and indulge in my favourite pastime .. browsing the Scrap Matrix online store and shopping or, if hubby is floating around, adding things to my wish list. Wink wink!!  ;)

Cheers .. Alz  :)

Scrap Matrix products used:
Dina Wakley Media Collage Paper
Dina Wakley Media Collage Words 
irResistible Spray (wedding dress)

Sunday, 22 July 2018

You make me smile .. with Alz

Morning peeps!

I'm baaaaaaack. Okay so this is my third post this month. I know I know lol, but I couldn't help but create another layout with this month's challenge!

You make me smile

A quick reminder of this month's fabulous moodboard challenge Love is sweet ..


I've already created a layout using pink which was inspired by the baby photo, and a layout focusing mostly on green with some neutral elements. This time I was inspired by the yellow, albeit a softer yellow, and the shape of the macaroons. The layout came together super quickly, so I'll keep this super quick. Well, lol, at least I'll try.

I created my background on patterned paper from the Maja Design Coffee in the Arbour collection. Three quick steps and it was done. Literally. Using the masking technique I've shared before, I stamped some circles from a Blue Fern Studios stamp setTexture Circles with a Tim Holtz Distress Oxide Ink in Antique Linen. I gave that a quick blast with a heat gun before applying Ranger Texture Paste through a TCW Stencil12x12 Tiny Circles. Judging by how grungy my stencil is (oops), I'm going to hazard a guess its my favourite. lol. Once that was dry I flicked around my absolute favourite product of all time, irResistible Spray. I've used the Desert Sand and OMGee it is divine. It looks like toffee and I can't hardly wait to use it on kraft cardstock as I reckon it'll look sensational. Moving on (lol).

Next, I stamped some circles from the Blue Fern Studios stamp setTexture Circles on another sheet of patterned paper from the Maja Design Coffee in the Arbour collection. I used circle punches to cut out two different sizes .. one the original size of the stamp and the other, a smaller size. I inked the edges of both size circles to give them some definition. Oh, and I used the Tim Holtz Distress Oxide Ink, in Antique Linen, for my stamping which, again, I heat set.

I mounted my photograph with some cardboard packaging to raise it off the page and then added my stamped circles and some Petaloo Florals (Mini Paintables - Blossoms Ivory) around the photo as a mat of sorts, and also as embellishments. I added some other small bits and pieces I had sitting on my table gathering dust, and a stick pin I made (my latest obsession). I added the journaling I printed using my favourite font, 1942 report, which I found free online somewhere, and voila, I was done! I told you it was super quick. Here's a couple of close ups ..


Anyways, its time for me to step away from the moodboard (lol) and check out what you guys have been creating. Don't forget you now only have until the end of the month to upload a pic of your project on the Scrap Matrix Facebook page. Also, don't forget to let us know which products you've used from Scrap Matrix.

Til next time!

Cheers .. Alz   :)


Scrap Matrix products used:

Wednesday, 18 July 2018

Loved .. with Alz

Morning peeps!

I'm back today to share my second project for the current Scrap Matrix challenge .. How Sweet It Is.

Loved

I was inspired by the yummy pistachio-ish green and vintage-y kraft colours, the love heart and, most of all, the song lyrics "How sweet it is to be loved by you".


I knew how I wanted this layout to look, but wasn't entirely sure I'd be able to translate my 'vision' to the page. So I started experimenting with, yet again, my favourite Dina Wakley Media stamp set .. Abstract Blooms. I didn't want the stamping to be 'heavy' so used a Watering Can (instead of Jet Black)  Ranger Archival Ink to do my stamping. I like the softer look the Watering Can gives. Once I had established that the stamped images looked good on the reverse sides of the yummy (pun intended lol) Studio 75 Yummy patterned papers (I used 03 and 04), I cut them out. I did try colouring a few of the flowers but decided I was right first time around, and left them plain with the kraft colour coming through.


Incidentally, if you like to create on neutral, kraft-like coloured backgrounds, I can't recommend the Studio 75 Yummy patterned papers to you highly enough. They are a lovely weight to work with, distress well, cut through like butter, and the colours on the other side (reds and yellows) are just as yummy (again, lol, pun intended) as the kraft coloured sides. I know there are more yummy (sigh lol!) kraft coloured papers in store, but for now, let's focus on the Studio 75 Yummy ones.  ;)

Next it was time to move on with my background. As I've said above, I was really inspired by the pistachio-like, green tones in the mood board. I'm not entirely sure why. I mean I know its Tammy's favourite colour, but is it mine?? I wouldn't say so, but this patterned paper by Maja Design (drool!) from the Coffee in the Arbour collection is to die for .. Feel the Grass (I'd much rather smoke it but that's another story .. did I just say that out aloud? oops he he he!). Why do I drool over the Maja Design patterned papers? First and foremost, their weight is perfect. Just heavy enough to carry a lot of mixed media, but not so heavy to be inflexible or rigid in your album. The patterns, whilst seemingly a little shabby chic/vintage, are generally delicate and work well as backgrounds. If the pattern isn't so delicate you're pretty much assured the reserve pattern will be. They also have a white core which makes distressing a breeze. If you haven't tried them out yet, you might as well pop a few into your next order. Especially as they're on sale at the moment.  ;)

Anyways, first up I used Snow White Colour Blast Paste over a 12x12 TCW Template (Tiny Circles).  Once dry, it was just a little too sparkly for my 'vision' so I randomly ran a brayer over my page and some of those raised tiny circles. In this instance, instead of my 'go to' white gesso, I've used a Paper Artsy Fresco Finish acrylic paint in Nougat. Although I left plenty of sparkly tiny circles, it now needed a little oomph. I got my oomph by using Metallic Rub Ons. I used the gold from Kit 4. So as not to get it spread all over the page, I placed my Tiny Circles 12x12 TCW Template back on top of my page so the raised tiny circles poked through. This enabled me to be quite precise in where I rubbed on the gold colour with .. wait for it .. my finger! So quick and easy.

see how it sparkles?
ps: I forgot to take a pic of the painted background before adding the gold 
so we'll just pretend for now that there is one here yeah?
applying the gold rub on
(couldn't manage to take a picture of my grubby finger actually doing this
and hold my phone at the same time!)
the finished background (or is it???)

So I'm reckoning right about now that I've finished my background. Buuuut I figured I'd go wash the gold off my finger and make a cuppa. When I came back to my page I realised it still needed something to lift it. My absolute favourite product of the moment came to the rescue .. irResistible Spray! I used New Sprout.

Done!

The next bit was the easy bit. Some layering, embellishing, final touches and Bob's your uncle. Well actually, he's mine, or was till he passed .. lived up in Mildura with Aunty Joan (who's still with us) .. a pretty part of Victoria .. darn hot though. 

Moving on ..


I ripped some small strips off the Studio 75 Yummy patterned papers and kind of randomly stuck them down, but so they'd flow. Out came my next favourite product of the moment .. Dina Wakley Media Tissue Paper. OMGee this stuff is to die for. Here, I found it positively perfect for layering, using little torn up strips like washi tape but not, and for cutting out shapes. For this page, I've cut out four hearts, stapled them together, and then ruffled them up a bit to create some dimension. I figured out where I was going to stick down my cut out Abstract Blooms, coloured the leaves green with a pencil from the Prima Watercolour Pencils Scenic Route tin, and added a small length of Vintage Lace 5 in black and a Petaloo craft brown Doily to my layers. I also tucked in a Petaloo Botanica Mini Pistachio flower and created my title with Black Fitzgerald American Crafts Thickers. Finally, as per usual, I printed my journaling with a free font I found online called 1942 report.

A few close ups ..


Did I manage to capture my 'vision'? Yep! Well mostly. I think. Most likely by the time I finished this layout I couldn't remember what my 'vision' had been, but at least it provided me with a starting point!

Now, don't forget that Scrap Matrix has changed the dates for its monthly challenge. Our challenges now run from the 1st of the month to the last of the month. So you have until midnight on the 31st to get a photo of your layout, or other project, uploaded to the Scrap Matrix Shares Facebook page. Please don't forget to let us know the products you've used which are available at Scrap Matrix.

Well, that's it for me today. I hope you're having a great July and enjoying doing your taxes!!

Cheers .. Alz  :)


Scrap Matrix products used:
Colour Blast Paste - Snow White
TCW Template - 12x12 Tiny Circles
irResistible Spray - New Sprout
Studio 75 Yummy - 03 and 04
Ranger Archival Ink - Watering Can
Vintage Lace 5 - Black