

Oh my. Where do I start.
I cannot tell you exactly when Tammy's work started to catch my eye. I'm pretty sure that it was in a scrapbooking magazine. I haven't bought one of those for years now though, so it was some time ago.
Her bright colours always stand out.
The layers of elements and stamping, seemingly randomly placed, always look perfect to me.
And how does she come up with the ideas of using stamps for functions other than their initial purpose? She keeps telling me that she is an upside down and back to front person, but she seems normal to me. 😆 In fact, since joining as a guest design team member, she has been very helpful, encouraging, inspiring and supportive.
A truly wonderful person who genuinely cares.
Well, that's enough gushing from me.

This is my inspiration for my project.
I found this prompt for this month's
challenge a little daunting. I'm hopeless at trying to copy someone
else's work and my first three attempts failed miserably because I wanted
to use different products.
So I went through the blog and followed her directions.
So I went through the blog and followed her directions.
Those who know me will be shocked. Me, follow instructions! I normally just look at the project and do it my way.
Her instructions are so easy to follow, how could I have gotten it so wrong.
So here is I what I did.
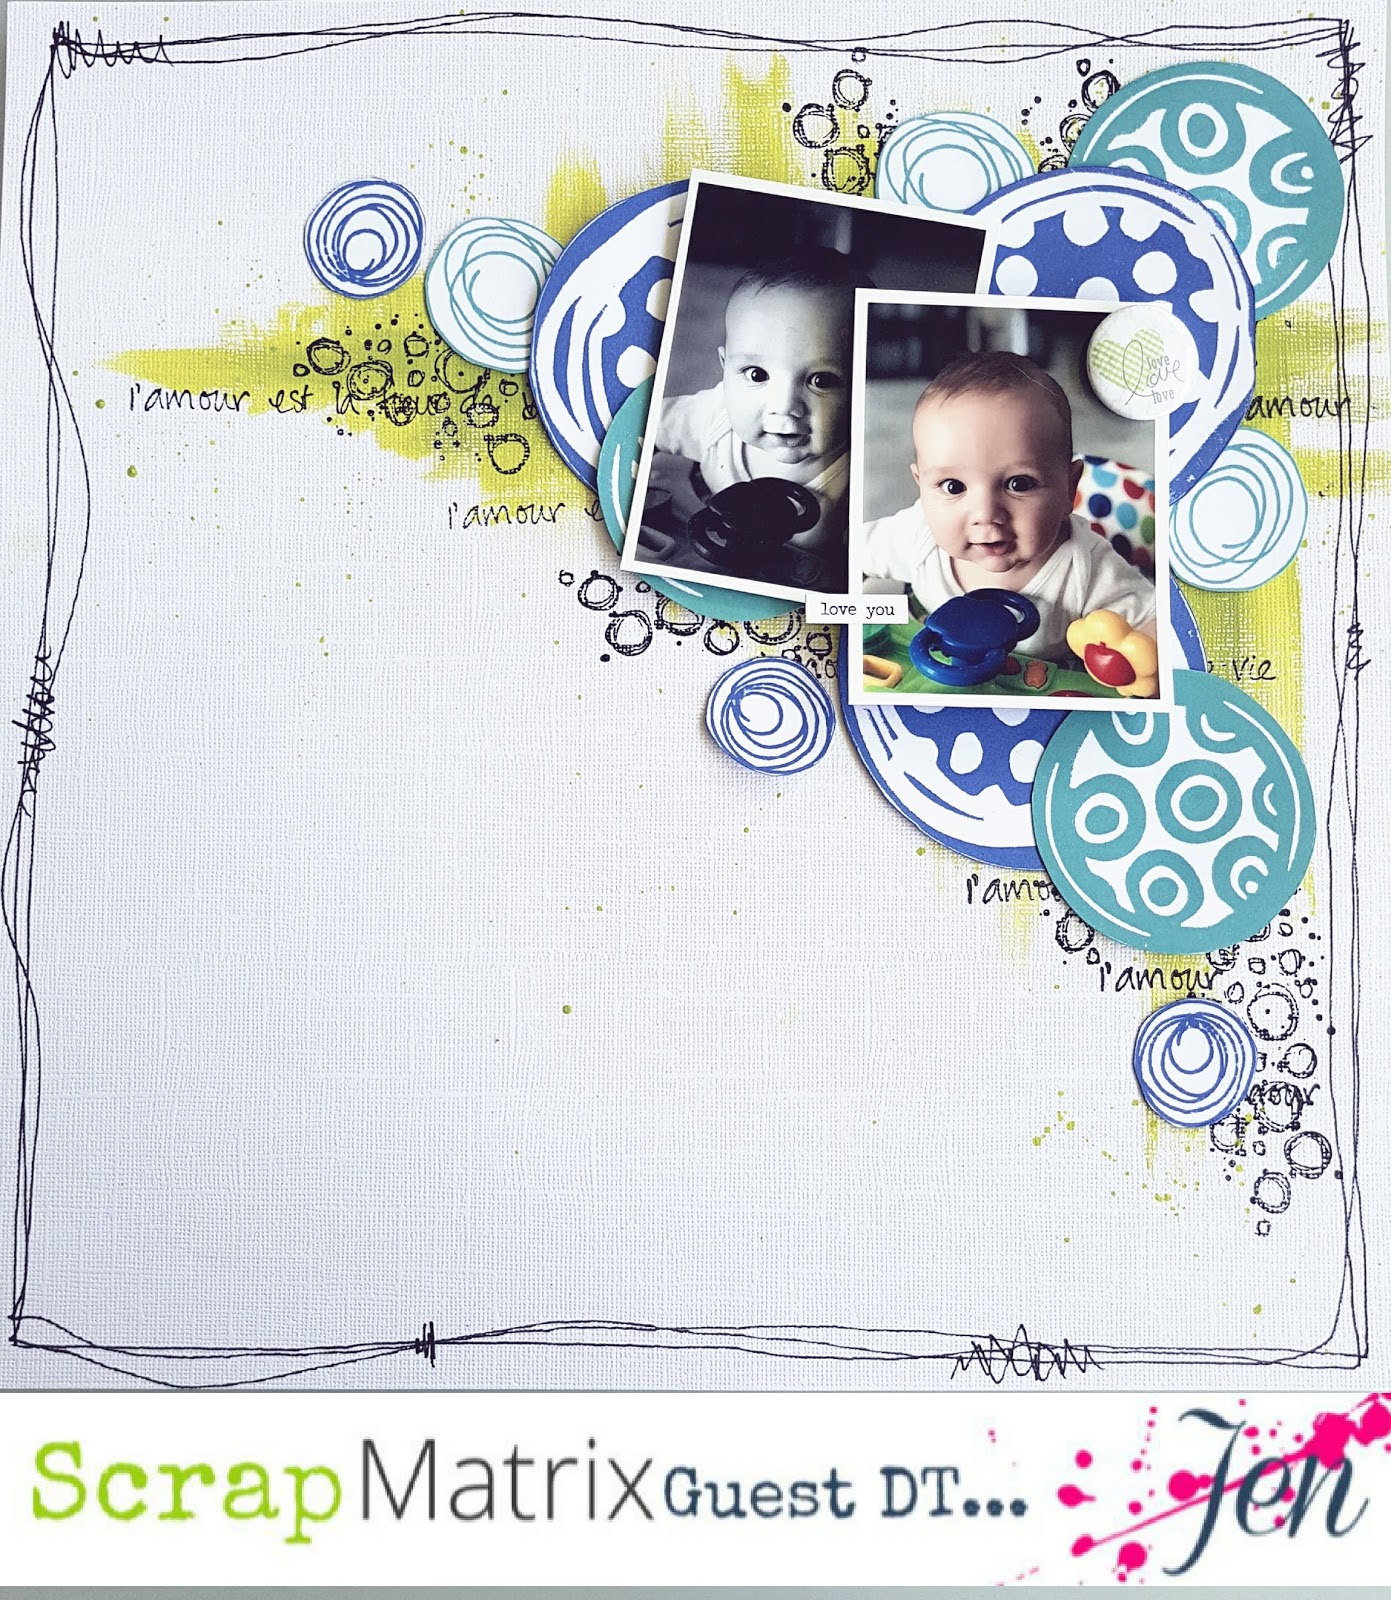
First I grabbed a sheet of white cardstock and my Paperartsy paints in Limelight and Granny Smith.
I painted first with Limelight going up and down , then side to side. I repeated with Granny Smith but with smaller strokes.

Next I used the circle stamp from Paperartsy stamp set ETS24 and stamped it randomly over the page with Black Stayz-On.

Then I used one of the quote stamps from Paperartsy stamp set JOFY35 trying to use mainly the l'amour part on the right side and lower part.

I grabbed my Art Foamies Circle Salad set next, and stamped them with Distress Oxide Ink in Blueprint Sketch and Broken China. I repeated this with the circles from Paperartsy stamp set ETS09 and cut them all out.

I drew three lines around the page adding a few scribbles here and there with a black pen.
Now Tammy uses tags, stamped images, journaling and stickers to finish her page but I was doing it my way.
So I printed out two photos of my youngest nephew, one in black and white, one in colour and arranged them with my circles. I had a flair button that fit with my colours and a 'love you' quote sticker from Ranger that I added to the colour photo.

And this is it. My Tammy inspired page. A little different but the same.
I hope you enjoyed my first project for this month.
I can't wait to see how Tammy inspires you.
Just don't forget to share it on the Facebook page.
Just don't forget to share it on the Facebook page.
Jen
>^.^<


