Showing posts with label Debbie Pulford. Show all posts

Friday, 1 June 2018

Guest Designer Deb - The Point is.....

Hello Scrap Matrix friends,

Deb back with my second take on the May challenge - The point is.....

This time I went with the pointy option, using arrows and triangles - items available from Scrap Matrix.


I took a piece of paper from the Stamperia Atelier paperpad as my background piece and using the AALL & Create #20 stencil, along with distressed triangles stamp from the Paper Artsy JOFY 34 stamp set, combining with 13 @rts Splash Gold Glitter Ayeeda Ink, and Dina Wakely Acrylic paint in Turquoise and Rosy, I created a background around where my photo was going to go. The 13 @rts gold glitter ink worked quite a bit better with the stamp than I thought it would, and I really love how that turned out.


Whilst waiting for that to dry, I edged the base paper in the glitter ink as well.

Once all the mixed media was dry, I mixed the paints with some water and added some splatters to the background as well as some glitter drops, and then used the paint the same way, and added some pearls of Turquoise and Rosy.

 I also inked the edge of the photo mat with the gold glitter ink, and painted the 13 @rts Out of the Blue chipboard title and a couple of arrows as well.  I used a small round brush to do this and when almost dry added more glitter ink to the places that were patchy.  I will certainly be using this technique again.


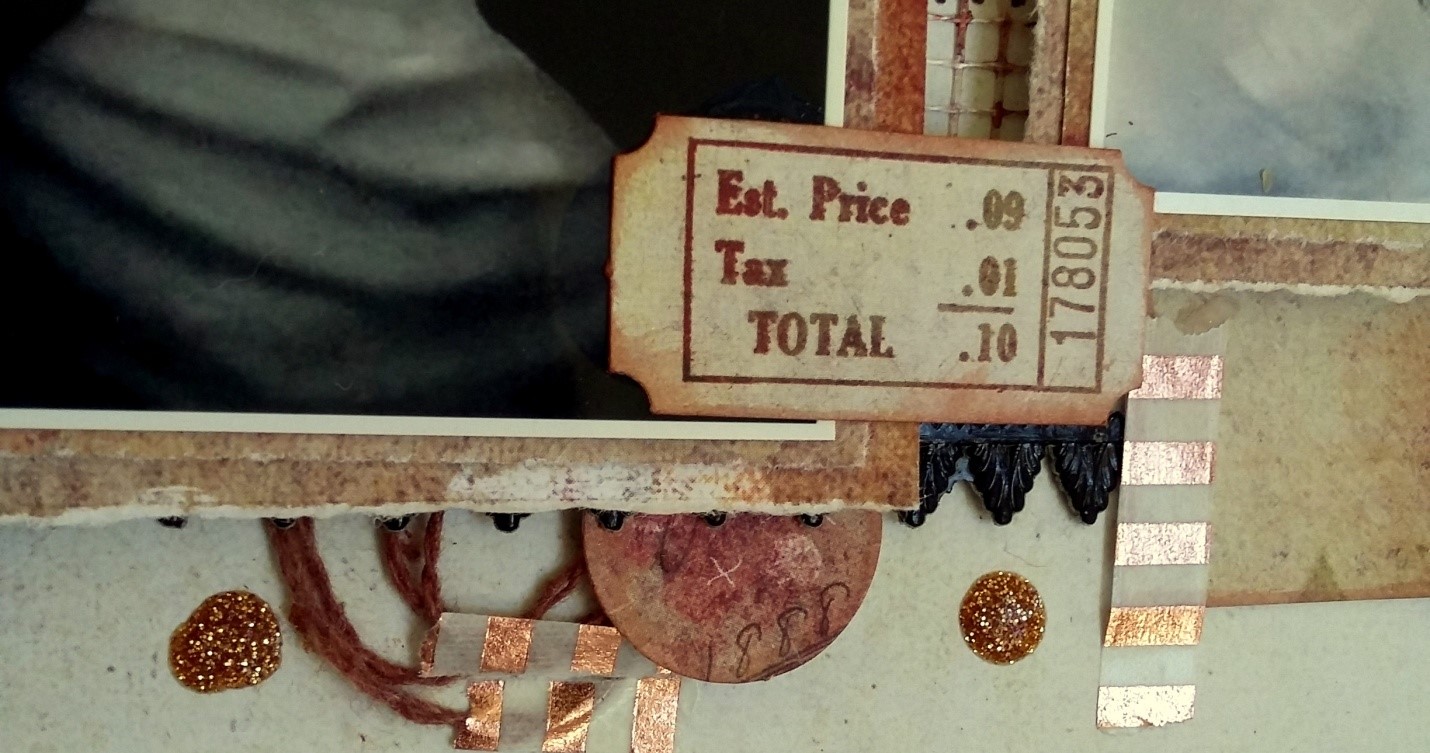
I let this all dry overnight so as not to smudge any media and instead of twiddling my thumbs  I took another sheet from the paper pad and cut out the tags to create the layers under my photo.  I also took a sheet of tags, etc from the 13 @rts Art Journey 6x6 paper pad and cut out some circles, some arrows and some of the words on another sheet, as well as fussy cutting some flowers and a flutterby.


I placed the tags in the centre of the dry background,

then added the matted photo, before finishing off with various embellishments, including a puffy sticker from Pink Fresh Escape the Ordinary as well as a chipboard arrow head from the same collection.   Finally I placed the title layering some of it over the bottom of my photo.


 And thats it.

Hope you like my layout and have picked up a tip or two :)

A huge thank you to Vicki for allowing me the privilege to Guest Design for Scrap Matrix and showcase some of the wonderful products available in the shop

Supply List:
Stamperia Atelier paperpad (Out of stock) but other collections are available
Dina Wakely Acrylic paint
small round brush
13 @rts Out of the Blue chipboard
13 @rts Art Journey 6x6 paper pad
Pink Fresh Escape the Ordinary

Go forth and create my friends :)

Thursday, 16 November 2017

7 Dots layout - Guest Designer - Deb

Hello Scrap Matrix friends, it is Deb here, and I am super excited to be guest designing for you all this month.  

I must say a huge thank you to Vicki and the girls for making me feel so welcome. 
I have a step by step process for you of the layout I created with the fabulous 7 Dots Dreamscapes kit I received for the November challenge.  I have added some items – all available from the Scrap Matrix store so be sure to check out the supply list at the end of this novel, lol.


I began choosing  the papers and diecuts, etc, that I wished to use and taking a dauber top I placed it on the Lindy’s Stamp Gang Starburst in Cocoa Bean Copper, and inked all the edges of the tags, diecuts and background paper.  I also used this product to colour some of the string, which I had divided into strands to make it go further.  I also added some of the Lindy’s to the 2 flowers from the kit.   I had chosen a Steam Punk chipboard border and coloured this as well as a length of white mesh tape to finish off the embellishments for the layout.


Once I had all the bits coloured to my satisfaction, I took a Tim Holtz stencil -  “Measured” and using Colour Blast Colour Paste, stenciled across the middle of the background as well as the top left and bottom right corners.


Whilst I was waiting for this to dry, I placed the mesh tape in position over the stenciling, and then double matted my black and white photo’s.
To give more texture to my layout, I tore the photo mats using my steel ruler, instead of cutting them.  I like to look of straight cut edges mixed with torn edges.


I didn’t ink these edges.
Once the Colour Paste was dry (it really doesn’t take that long) I started assembling my layout, moving pieces around until I was happy with the result.  I then started sticking everything down with my trust Xpress it Double sided tape and Helmars Acid Free glue.


Before placing the photos onto page, I added foam to the mats to lift them off the rather busy background.

Now came time for the title and finishing touches.  I had some Chipboard Alphabets #1, and I used the Lindy’s to colour these, before adding Stampendous Embossing Ink and Embossing Enamel.  Because the enamel is so thick you couldn’t see the colour under, so I splashed some Lindys over the top.


I added the title to my layout and finished with some 13 @rts Gold Glitter Ayeeda Ink, and some splatters of the Cocoa Bean Copper Starburst from Lindy’s, and finally some Vicki Boutin word and phrase stickers.

My finished layout:


And some close-ups:


Supply list from Scrap Matrix:

I hope my layout has provided some inspiration. 
I will be back later in the month with another layout  xx