Wednesday 26 August 2020

ATC Cards by Tanya Froud

 Hi Guys! Tanya Here with another of my creations for the month,

With the drip spritz and spray theme going on this month its got me re-discovering some old favorites that got put on the shelf and forgotten about. Oxide Sprays! I forgot how much fun they are.

For my ATC cards i started with a base of 8x10 inch heavy white card stock.

I spritzed Pickled Raspberry, Fossilized Amber and Pumpkin Oxide Sprays onto my craft mat, one at a time them smooshed the card into it to build color. I dried it ever and then to get more depth in the color, before giving it a really good dry.


I then grabbed a couple of Tracy Scott Mandala stencils and a makeup sponge and sprayed a little puddle and dipped my sponge into the ink and then sponged it through the stencil repeating the color until I was happy with what I saw.


I then cut the cards down to the ATC size, 2.5x3.5 inch and used Dark Room Door "Artist Palette" Stamps to add my final layer to the cards.

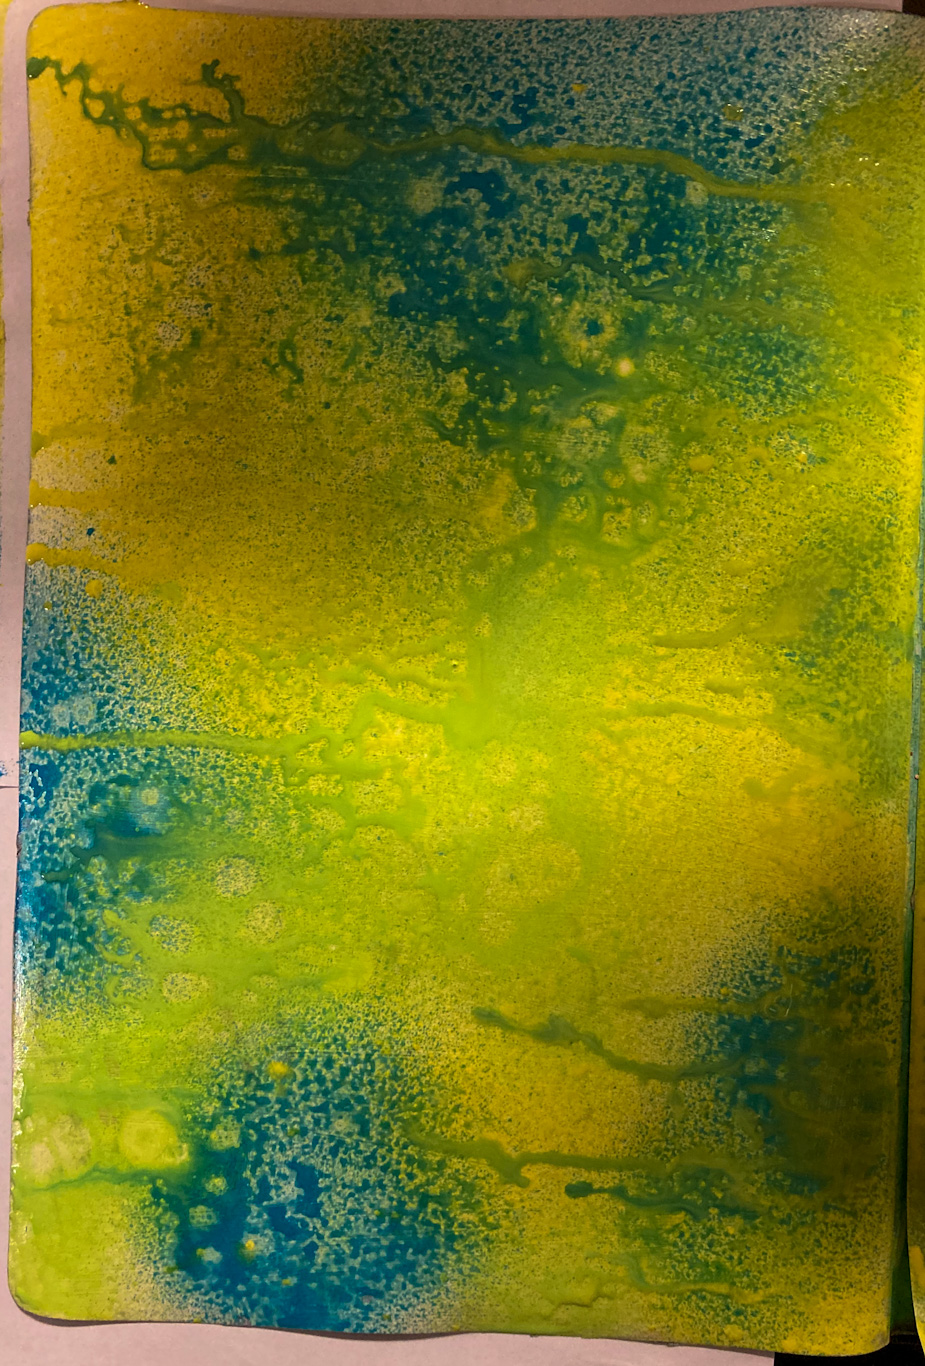
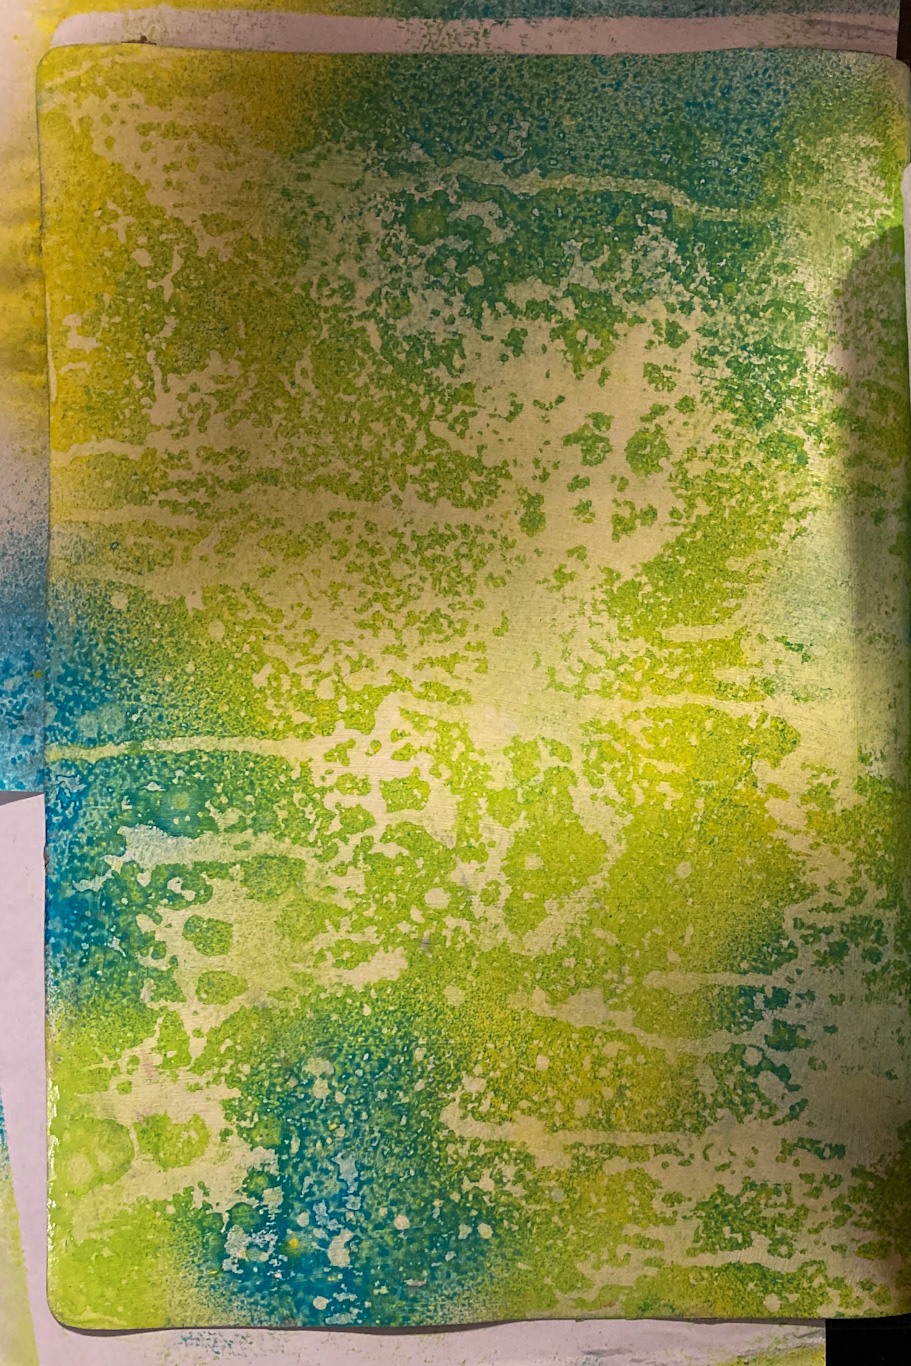
Here is another dip in and smoosh page using the Glossy Ink Sprays from a discarded piece from my book mark. I also used the same mandala stencil.


Well That's it from me, until next time!


Thursday 20 August 2020

'Splashes' with Lisa Amiet


Hello all!
It's Lisa here today to share some splishing and splashing with you.

I have finally decorated the cover of my art journal!!
I have used the KISS method (Keep It Simple Silly!)


So this is the large 'Dylusions Creative Journal',
I have first given it a few thick coats of 'Liquitex Gesso',
to seal it, and give me a nice clean white base for my colours to stand out.


I stood it up on my desk, I wanted it to be a landscape orientation.
I have then used my 'Dina Wakley Gloss Sprays' in
Fuchsia, Marine, Eggplant, Lemon & Turquoise, 
to spray and spill some colour,
letting them pool and drip.


I have then used an art journal sticker from the '13Arts Journey Stickers'


I love how the colours have blended and ran together in parts.
I also love how glossy these sprays are, no need for any gloss medium!


I have used another of the Journey Stickers on the bottom of the cover.
I have only done the first side so far,
but am planning on repeating it to the back sometime soon.

I hope you like what I have finally done to it.

Until next time!

Lisa

Scrap Matrix Products used:

Dina Wakley Gloss Sprays in


Wednesday 19 August 2020

Colour Makes Life More Beautiful -- by Lynn

Hi everyone, today I would like to share my art journal page being my second project for this months challenge 

I recently purchased this awesome Tracy Scott stamp - ETS43  and couldn't wait to have a play.


I decided to go outside of my comfort zone and create with greens.  Yellows I can deal with - greens scare me!!!!  So I have used Dina Wakley Gloss Sprays - Slimed, Lemon, Eggplant, Olive, and Ocean.  I love the way these react to each other 


and if you wipe across with a paper towel roll before they are completely dry the effect is awesome.


I have then added contrasting colour Fuchsia


To push all this to the background I have used a Paper Artsy Stencil PS201 and the white gloss spray with a dauber.


and again wiped across with a paper towel roll so I didnt get such a defined look.


Using the Paper Artsy Smoothy Cardstock I have stamped the Tracy Scott Stamp ETS43 and coloured with Paper Artsy Paints - highlighting with flourescent pencils.


I fussy cut the images and adhered them to the page.  Once dry I have highlighted and outlined with white and black pens 


and addd a quote from Art by Marlene

Here are some Close Ups


Thanks for stopping by and I hope that I have given you some inspiration to enter this months challenge.


Tuesday 18 August 2020

Spritz and Spray with Jen

 Hi Everyone!

  Are you enjoying the challenge this month so far?   I see there are a few entries already posted on the Facebook share page and they are fantastic!  I hope to inspire a few more entries today. 


I've created a small canvas to share with you today. I've used Lindy's Stamp Gang sprays that have a shimmer.


I didn't really have a plan when I first started. I knew what I would like to use but I was unsure if I would use them.


I glued strips of 7 Dots Studio papers (Cotton Candy and Write's Block) across my canvas and covered them with gesso.  


 I did hope that some of the detail on the papers would show through.


I glued on the metal elements that I wanted to form the base of my design first and coated them with gesso. Then the rest of my metal elements, shapes, jewels, stones and beads. Next, a final coat of gesso.


Once dry I sprayed my lightest colour in the middle and worked my way towards the edges using darker shades.  It required a couple of coats to get the result I wanted.  I had hoped that the colours would drip along the strips, but they didn't.  At least not the way I wanted. 


To highlight some of my elements I added some wax from my stash just to make a few details stand out.


I finished with a Tim Holtz sticker.

I hope you like it.

Jen.

>^.^<


Wednesday 12 August 2020

Tam's back with more drips.....

Hi lovelies

Tam here again to share another drippy creation.....


A drippy girl.....


To create this one I used the following products:


I began by applying white gesso to my page and then sketched a face.


I then used the Prima Bloom Stamps.
I love this stamp set.
Everyone should have this in their collection.....

Firstly I stamped each one onto scrap card and then cut them out.
I use these as masks.


I stamp directly onto the page using archival ink.
NOTE this ink must be waterproof so it doesn't reactivate when liquid is applied.
I then cover that stamped image with it's mask, ensuring it lines up...


I then stamp the next image, overlapping slightly.
See how the mask works?
You are left with layered stamps....


Time to start adding colour....
I used Art by Marlene Watercolours, in both Bold and Bright and Whimsy and Bright.
I layer upon layer the colours until I am happy with the depth and vibrancy.
I aslo sprayed water and allowed the drips to run down the page.


They are just a bit softer.


I also added some drips to her eyes.

I then went in with a fine pen to add some details.


I also added some pen work to a few of the flowers, just to add some highlights.


Finally a few flicks of paint!


Love those drippy flowers....
and I love the white space around it.
Helps the colours to pop.


Keep your entries rolling in.
We love to see how you drip, spray and spritz on your creations.

Much love 
xx